AARP Hearing Center

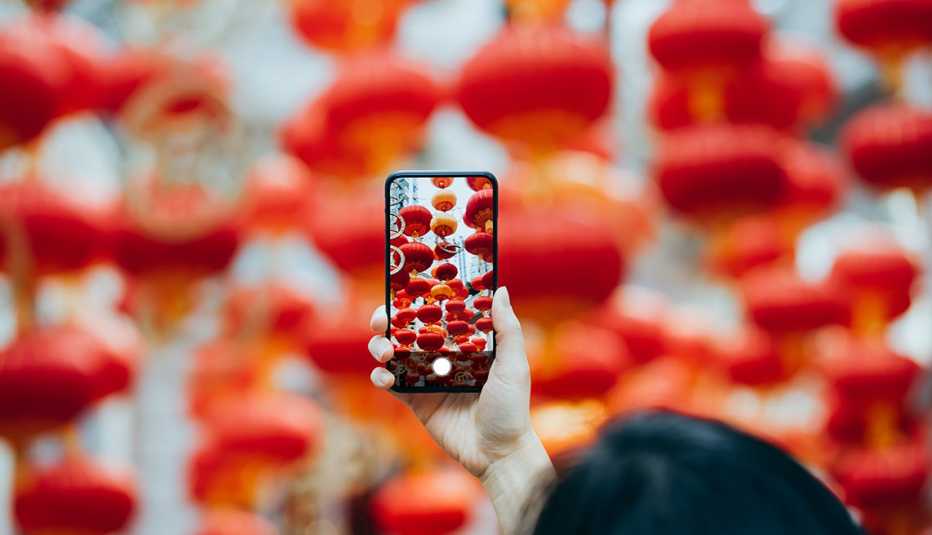
Taking a good photograph only starts with pressing the shutter button.
Sure, you must have a good subject, good composition and good lighting. But editing photos and adding special effects can take your art to the next level, even if you’re not looking to sell your work, exhibit in a gallery or garner “likes” on Instagram or TikTok.
Photo editing can start with the tools baked into your iPhone or Android device. And you can take things further if you use one of the hundreds of apps in the Apple App Store or Google Play — many free to download, with a fair number of features you don’t have to pay extra for. Let’s start with the basics.
Using iPhone’s Photos app tools
After you take a photo, you can adjust the light and color, crop, rotate, add a filter and more. If you don’t like your changes, tap Cancel | Discard Changes to revert to the original.

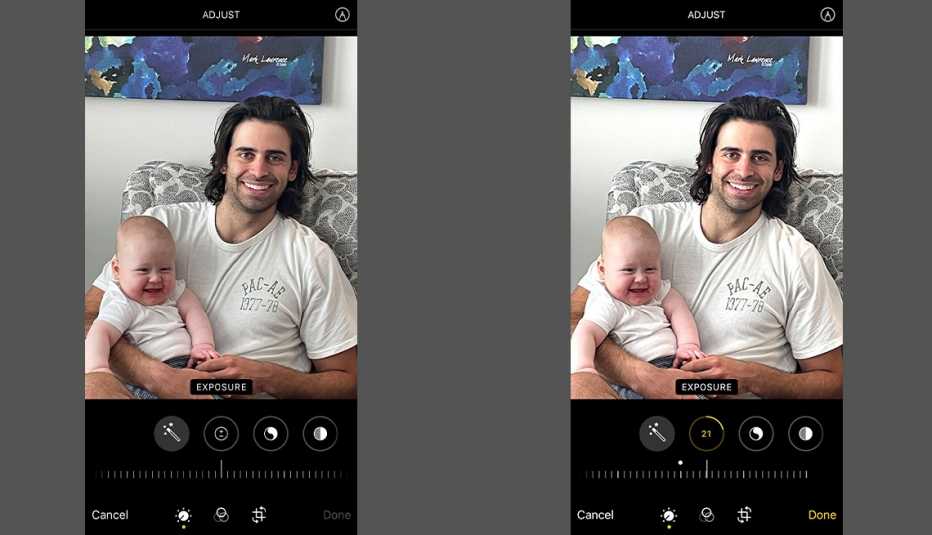
Modify light and color. In Photos, tap a photo to view it in full screen. Tap Edit, then swipe left under the photo to view the effects tools you can use to edit, such as Exposure, Brilliance, Highlights and Shadows. Tap the effect you want to edit, then drag the slider to make precise adjustments.
The outline around the button indicates the level of adjustment you make for each effect, so you can see which have been increased or decreased. Tap the button to toggle between the edited effect and the original. Tap Done to save your work.
Pro tip: Tap the Auto button to automatically apply effects to your photo. You can change individual settings afterward.
Crop, rotate and flip. In Photos, tap a photo to view it in full screen. Tap Edit, then tap the cropping tool at the bottom right of the screen. Drag the rectangle corners to enclose the area you want to keep in the photo, or you can pinch the photo open or closed.
To crop to a standard ratio, tap the Aspect Ratio Freeform button — at the top, second from right — then choose an option such as square, 16:9 or 5:4.
To rotate the image 90 degrees, tap the Rotate button — at the top, second from left. To flip the image, tap the Flip button — at the top, on the left. Tap Done to save.
















More on Home and Family
10 Tips to Help You Look Better in Your Friends’ Photos
Shutterbugs can take more flattering pictures as well
Tagging Your Photos Makes Friends, Family Easy to Find
Organizing images takes some time now, saves time later
5 Fun Ways to Use Your Smartphone Photos
Use saved memories to create jigsaw puzzles, slideshows