Skip to content
 

Fly Through Airport Security

Suitcase X-Ray, White Outlines, Fly Through Airport Security

GETTY IMAGES

These tips will help you get through airport security quickly and without a hassle.

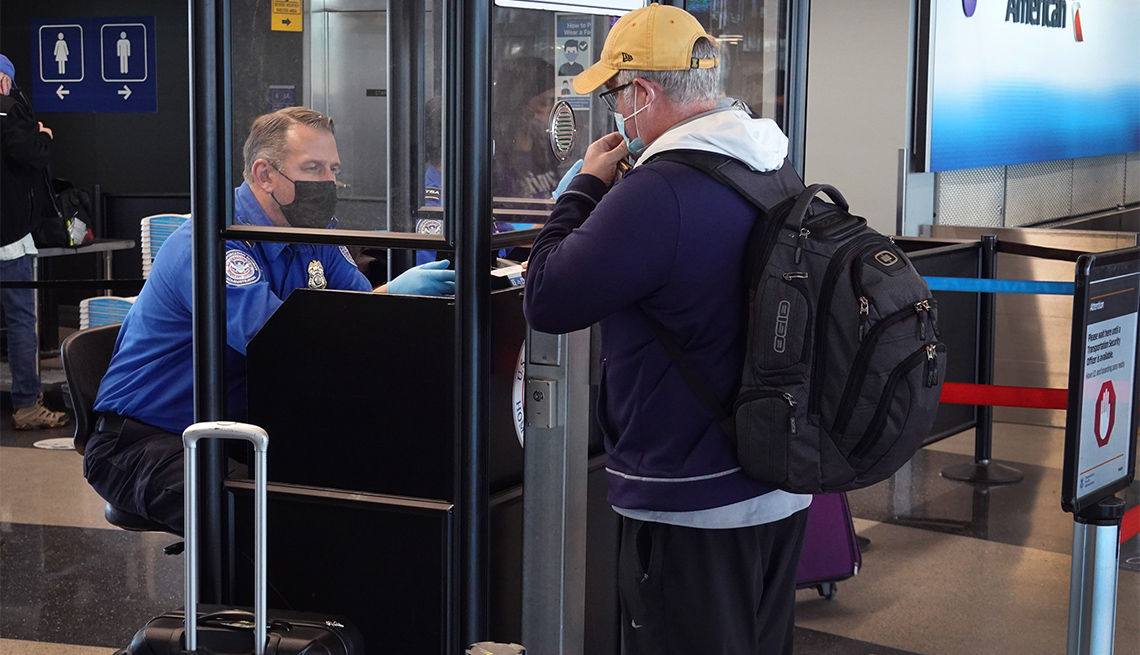
Remember when flying didn't involve taking off half your clothes and displaying your possessions on a conveyor belt? Unfortunately, the Travel Security Administration's (TSA) shoe-removing and body-scanning procedures are here to stay. Adding to this frustration are the disorganized people in front of you, who don't seem to have gotten the memo about what modern airport security procedures actually are. Here are some tips on how to breeze through airport security without becoming a roadblock yourself.

1. Remember airport security starts at home

You're already familiar with regulations and checkpoint procedures, such as removing your coat and shoes and packing 3-1-1 bags (i.e., putting all carry-on liquids and gels in 3.4-oz or smaller containers — all inside a clear, 1-quart zip-top bag). But these hard and fast rules aren't without their nuances and are subject to change. Before packing, brush up on your knowledge of what you can and cannot bring through airport security on the easy-to-use website of the TSA.

2. Pack priority items in an accessible place

You have to remove laptops and 3-1-1 bags from carry-ons for X-ray screening, so pack them for fast access prior to screening and easy stowing afterward. The TSA reserves the right to open wrapped packages, so save some time and trouble by packing gifts unwrapped. Consider the shapes of any items in your carry-on — even the smallest trinkets can look suspicious on an X-ray scan. If you think something innocent will set off red flags, put it in the bin for the scan, so TSA officers can identify it without having to conduct a bag search.

3. Dress to fly

Choose a cardigan or jacket with a zipper or buttons so you don't have to pull anything over your head. Wear slip-on shoes or zippered boots. Put small metal objects — cellphone, watch, keys, coins — in your coat pockets for easy pick up after security. Buckle your belt to your bag to keep from losing it. If you travel with a money belt or pouch, hold off putting it on until after you go through airport security.

4. Give yourself the luxury of time

Although you can check out security wait times on the TSA's website or mobile app, in general, assume that your trip through airport security will take at least 20 minutes. Being in a panic about missing your flight will only make the wait more excruciating. Plus, you're more likely to be forgetful when under stress, perhaps neglecting to remove items from your bag or pockets and setting yourself back a few precious minutes. Full-body, advanced-imagery-technology (AIT) scanners are becoming the norm in U.S. airports. Note that opting-out of a body scan results in an individual pat down and a few extra minutes at airport security.

5. Bring your own water bottle

The best way to fight jet lag is to drink plenty of water. That said, unless you're in an area where tap-water quality is questionable, paying $5 for a bottle of water after clearing security feels like a plain old rip-off. Bring a used, empty, crushed (to save space) plastic bottle with the cap attached. After security, forcefully blow air into the bottle to re-inflate it, and refill it at any fountain or bathroom faucet. If you use a canteen or reusable water bottle that can't be crushed, remove the top and send it through airport security open so agents can see that it's empty.

6. Prep as you go

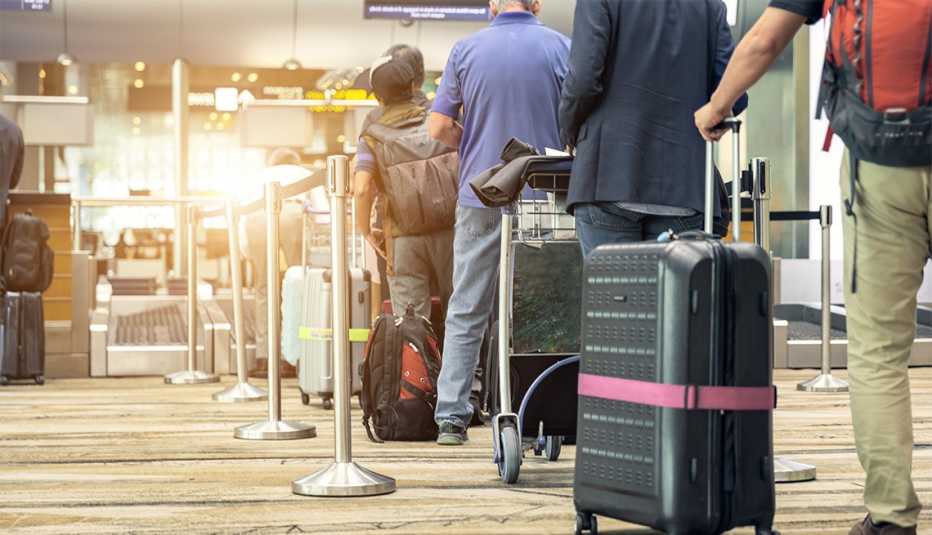
It's always astounding when travelers complain about waiting in an airport security line only to step up to the plate and delay everyone while they try to remove their coat, empty their pants pockets and take-off their boots at the last possible second — and all at the same time. Use your wait time as prep time. Keep your passport or ID and boarding pass in hand, but keep your shoes on until just before it's your turn — those floors are cold! Some major U.S. airports now have security lanes for "expert" and "casual" travelers and a special lane for "family/medical liquids." Choose the lane that best suits you.

7. Talk to the TSA

The TSA has special procedures for travelers with metal implants or prosthetics and those who must carry diabetes kits or other liquid medicines with them. Once you've checked in with your airline, and you're ready to go through security, tell a TSA employee about any special circumstances. They will direct you to the appropriate officer for individualized screening.

8. Look into pre-screening programs

The TSA has already implemented several programs in various domestic airports — with more being added each year — that enable frequent travelers to undergo a pre-screening process. If, after this process, you're considered a low-security-risk traveler, you'll be eligible for expedited airport screening. This means you won't need to remove articles of clothing or shoes or take your 3-1-1 bag or laptop out of your carry-on at security checkpoints.

Also of Interest

AARP Travel Center

Call: 1.800.675.4318

Search Flights

Enter a valid date

Enter a valid date

Child under 2 must either sit in laps or in seats:

Enter a valid date

Child under 2 must either sit in laps or in seats:

Enter a valid date

Child under 2 must either sit in laps or in seats:


Flight 2

Enter a valid date


Flight 3

Enter a valid date


Flight 4

Enter a valid date


Flight 5

Enter a valid date


Add Another Flight

Search Hotels

Enter a valid date

Enter a valid date


Room 1


Room 2


Room 3


Room 4


Room 5


Room 6


Room 7


Room 8

Search Packages

Enter a valid date

Enter a valid date

Child under 2 must either sit in laps or in seats:


Room 1


Room 2


Room 3


Room 4


Room 5

Search Cars

Enter a valid date

Enter a valid date

Search Cruises

Select a valid location

Select a month

Search Things to Do

Enter a valid date

Enter a valid date