
AARP Hearing Center


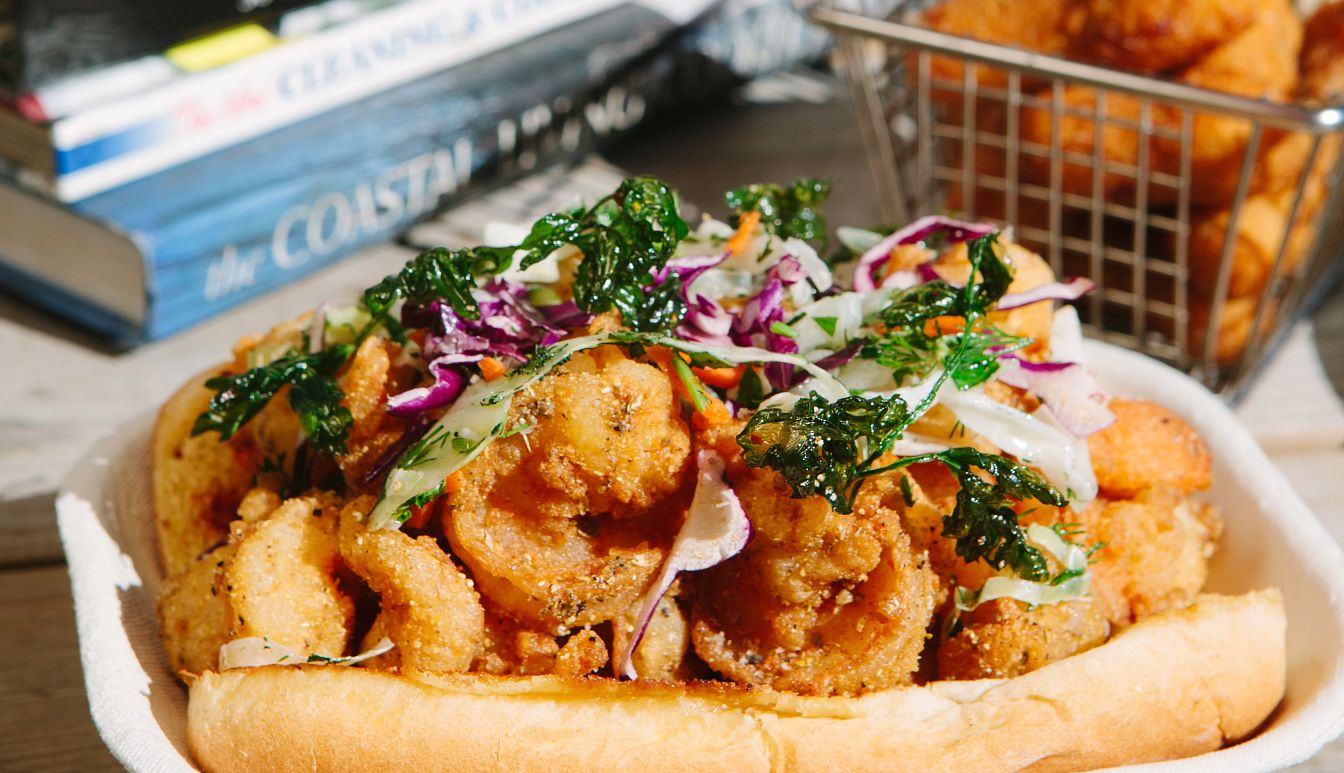


America’s Test Kitchen
Griffin Baum is the author of a cookbook that features recipes, cooking techniques and recommendations on how to organize a kitchen.
But Baum is not a chef. He’s a neurosurgeon who specializes in spinal surgery, and for years he’s heard from his patients that cooking is a challenge. “I always ask my patients, what’s something that you used to be able to do that you can’t do anymore, that you wish you could continue to do?” Baum says. “Almost universally, people talk about being able to cook for their family and entertain.”
To help his patients and others suffering from back pain, Baum teamed up with epicurean powerhouse America’s Test Kitchen to create The Healthy Back Kitchen cookbook. Baum combines his knowledge of back pain and spinal trauma with his love of cooking to offer a guide for people who want to protect their backs while whipping up dinner.
“I’m not here to cure your back pain, because I can’t do that,” Baum says. “My goal is to help you get to the place where you can do the things that you want to do [despite] back pain.”
The book features recipes approved by the culinary experts at America’s Test Kitchen and lays out the best tips and tricks for making kitchens and cooking tasks more ergonomic and less physically demanding. These include limiting standing time, building in breaks, cutting down on the back strain that can come from filling a pot of water for pasta, and considering where pots are stored in the kitchen.
Here are 10 tips from Baum to help you prevent back pain and continue to enjoy your time in the kitchen.
1. Be realistic. Don’t bite off more than you can chew. Be realistic about how long it’s going to take to set up equipment and create the dishes you want to cook, Baum says.
2. Start with a plan. Baum recommends gathering everything you need to make a recipe in advance — from equipment and utensils to ingredients. Even opening cans, washing herbs and chopping onions ahead of time can make it easier to actually enjoy cooking. “If you don’t plan properly, you end up doing these sorts of either prolonged standing sessions or putting yourself in really awkward positions,” he says. “Sometimes it’s just one awkward movement that can put your back in pain.” Consider investing in a rolling cart that helps keep everything close by.
3. Don’t rush. “The thing about rushing is you tend to lose track of where your body is in space,” Baum says. “And the next thing you know, you’re in a weird position for 5, 10, 15, 20 minutes, and it can be really harmful.” This is why prepping and planning are so important for minimizing back pain.
4. Avoid standing for too long. “When you know you have like 20 or 30 good minutes before your back starts to scream,” Baum says, make every moment count. Consider prepping while seated. If it is comfortable to stand, invest in quality footwear similar to what surgeons wear in the operating room and chefs wear in the kitchen. “The gold standard is closed-toe clogs that are easy to slip on, have a great, sturdy sole with excellent arch and heel support, and have built-in cushioning that conforms to your foot for a perfect custom fit,” he writes in the book. Cushioned, anti-fatigue kitchen mats can also reduce the wear and tear on your joints and spinal column.
5. Organize your kitchen ergonomically. “When you move into your house or redo your kitchen, you put stuff where it fits” instead of thinking about what might be used the most, Baum says. “If you’re going to have to open a drawer more than three times, think about relocating items so they’re more accessible.” In addition to placing your most-used items in a reachable utensil crock on the counter, for example, the book suggests putting pots and pans on hanging racks and reorganizing your spice drawer and pantry to avoid bending.
6. Don’t use too many pots and pans. Pulling out pots and pans from cupboards or drawers can trigger back pain, so consider one-pot meals. The book features recipes with that goal in mind. “There’s no recipe in this book that makes you fill every burner while using the oven and some other thing,” Baum says. “It’s usually either a convenience appliance or a single skillet or some sort of thoughtful combination.”
7. Don’t make too much food. Lifting a whole roasted chicken or a giant baking tray of lasagna out of the oven can be a challenge for folks with back pain. A better option may be to make smaller portions. Consider baking lasagna in loaf pans, for example. “You can keep doing what you’re used to doing, but just scale it down,” he says. “Focus on making those two portions the best you can instead of making six or eight or 12 bad portions.”
8. Embrace pre-prepped food. Baum is a fan of anything that makes it easier to get in and out of the kitchen without hurting your back, and that includes using pre-prepped food, such as pre-chopped vegetables or pre-cut chickens. “Unless you’re working at a three-Michelin-starred restaurant or you’re some professionally trained chef and you can’t live life without your perfectly prepped vegetables, why waste the time and effort?” Baum says. “Realize that all of … those pre-prepping steps like dicing onions or vegetables — that could be all it takes to derail your whole meal or derail your whole weekend or derail your whole month if you have a really severe pain episode.”
9. Avoid putting heavy pots in hard-to-reach places. “If there are pots you don’t use very often, you end up hiding the stuff, and then when you need it, half your workout is just getting it out of there,” Baum says. Instead, he recommends making the heaviest pots more accessible when you want them. For his family, that means leaving out the heavy Dutch oven for stew season. “We found one that is orange and is shaped like a pumpkin, and once we put it out, we keep it out. It just became part of the decor,” Baum says.
10. Know that you can still find ways to do what you love. “Every human being beyond a certain age has back pain — and there’s nothing wrong about that. It’s just how our bodies were built, how we’ve evolved,” explains Baum. “I just want people to know, you’re not alone. You can make the modifications to still do all the things that you love to do.”
Green Chicken Enchiladas

America’s Test Kitchen
Serves 4 to 6
Why this recipe works: At author Baum’s house, enchiladas are in the comfort meal rotation, but preparing them can be a multi-hour, labor-intensive endeavor that involves making the sauce, poaching the chicken and more — but it doesn’t have to be that way.
Starting with a rotisserie chicken and canned enchilada sauce makes this comforting meal more accessible for back pain sufferers and shortens the dish’s prep time to minutes. And instead of using a heavy casserole dish, you can arrange the enchiladas on a small, rimmed baking sheet. Pureeing cilantro with the enchilada sauce creates a fresh alternative to an otherwise standard sauce.
When rolling the enchiladas, place roughly the same amount of filling right down the center of each tortilla. Placing the enchiladas seam-side down ensures that they don’t fall apart in the oven.
Ingredients
- 2 10‑ounce cans of green enchilada sauce
- 1 ¼ cups chopped fresh cilantro, divided
- 3 cups shredded chicken
- 2 ½ cups shredded Mexican cheese blend or mild cheddar cheese, divided
- 12 5 ½‑inch corn tortillas
- Lime wedges
1. Preheat the oven to 400 degrees. Grease a small, rimmed baking sheet. Puree the enchilada sauce and 1 cup of cilantro in a food processor. Combine 1 cup enchilada sauce mixture, chicken and 1 1/2 cups cheese in a large bowl and toss to combine. Season with salt and pepper to taste.
2. Wrap tortillas in a clean dish towel and microwave until pliable, about 1 minute. Top each tortilla with ¼ cup chicken mixture and roll tightly. Arrange, seam-side down, on the prepared baking sheet. Spray lightly with cooking spray, then top with an additional 1 cup enchilada sauce mixture and the remaining 1 cup of cheese. Place the baking sheet on the middle rack and bake until the cheese is melted and the enchiladas are heated through, about 20 minutes.
Take a 20-minute break.
3. Sprinkle the remaining ¼ cup cilantro over enchiladas. Serve with lime wedges and pass the remaining sauce at the table.
Prep ahead: You can make the sauce up to 1 day ahead and refrigerate. You can shred the chicken up to 2 days ahead and refrigerate.
Take it up a notch: Serve with quick pickled shallots and radishes. Whisk ¼ cup lime juice, 1 teaspoon sugar and ¼ teaspoon table salt in a medium bowl until the sugar and salt have dissolved. Stir in 6 large trimmed and sliced radishes and 1 sliced shallot. Let sit for 15 minutes for flavors to blend or refrigerate for up to 1 hour. Drain before serving. Makes 1 cup.
Instant Pot Wine-Braised Short Ribs and Potatoes

America’s Test Kitchen
Serves 4
Why this recipe works: This elegant meal is perfect for a small dinner party but easy enough to make almost anytime. You do have to rotate things in and out of the Instant Pot, but once the ribs are under pressure you can step away for a significant amount of time. When Baum was testing recipes for this book, this one was so appealing that it became part of his family’s regular dinner rotation.
The first step is to brown just half of the easy-prep boneless short ribs and then set them aside to build the base of the sauce, which is complex with red wine, tomato paste, tomatoes and aromatics. All of the ribs then go into the pot to cook for an hour under pressure, giving you a solid amount of time to do something else.
As the ribs rest, it’s time to cook the potatoes in the delicious fat and juices left in the pot, which takes just 4 minutes under pressure. Use small red potatoes measuring 1 to 2 inches in diameter. Note that it will take the Instant Pot about 10 minutes to come up to pressure and start the cook cycle.
Ingredients
- 1 ½ pounds boneless short ribs, trimmed
- ¾ teaspoon table salt, divided
- ¼ teaspoon pepper
- 1 tablespoon extra-virgin olive oil
- 1 onion, chopped fine
- 6 garlic cloves, minced
- 2 tablespoons tomato paste
- 1 teaspoon dried oregano
- 1 can (14.5 ounces) diced tomatoes
- ½ cup dry red wine
- 1 pound small red potatoes, unpeeled, halved
- 2 tablespoons fresh parsley, minced
Directions
1. Pat short ribs dry with paper towels and sprinkle with 1/2 teaspoon salt and pepper. Using the highest setting of the sauté function, heat the oil for 5 minutes or until just smoking. Brown half of the short ribs on all sides, about 7 minutes; transfer to a plate.
2. Add the onion and the remaining ¼ teaspoon salt to the fat left in the pot and cook, using the highest sauté setting, until the onion is softened, about 3 minutes. Stir in garlic, tomato paste and oregano and cook until fragrant, about 30 seconds. Stir in tomatoes and their juices and wine, scraping up any browned bits from the bottom of the pot. Nestle browned short ribs (with any accumulated juices) and the remaining uncooked short ribs into the pot. Lock the lid in place and close the pressure release valve. Select the high-pressure cooking setting and cook for 60 minutes.
Take a 70-minute break.
3. Turn off the Instant Pot and let the pressure release naturally for 15 minutes.
Take a 15-minute break.
4. Quick-release any remaining pressure, then carefully remove the lid, allowing the steam to escape away from you. Transfer the short ribs to a serving dish, tent with aluminum foil and let them rest while cooking potatoes.
5. Add the potatoes to the liquid in the pot. Lock the lid in place and close the pressure release valve. Select the high-pressure cooking setting and cook for 4 minutes.
Take a 14-minute break.
6. Turn off the Instant Pot and quick-release the pressure. Carefully remove the lid, allowing the steam to escape away from you.
7. Using a slotted spoon, transfer the potatoes to the serving dish. Simmer liquid on the highest sauté setting until it’s reduced to 1½ cups, about 5 minutes. Using a spoon, skim excess fat from the surface of the sauce. Season the sauce with salt and pepper to taste. Spoon the sauce over short ribs and potatoes and sprinkle with parsley. Serve.
Prep ahead: You can trim the short ribs and chop the onion up to 1 day ahead and refrigerate. You can cut the potatoes and refrigerate, covered with water in a bowl, for up to 1 day.


More From AARP
3 Easy Summer Gazpacho Recipes to Keep You Cool
It may be hot out, but your dinner doesn't have to be
3 Salads Hearty Enough for a Meal
Delicious, nutritious and no oven needed
Acupuncture for Lower-Back Pain: Really?
It's more mainstream than you may guess; how experts say it may help