Javascript is not enabled.

Javascript must be enabled to use this site. Please enable Javascript in your browser and try again.

Skip to content
Content starts here
CLOSE ×
Search
Leaving AARP.org Website

You are now leaving AARP.org and going to a website that is not operated by AARP. A different privacy policy and terms of service will apply.

11 Tips for Window Air Conditioner Maintenance

Keep cool and save on costs, plus other portable AC options


spinner image a woman sits on a bed enjoying a cool breeze from her window air conditioning unit
Getty Images

For many people, warmer summer weather is only bearable with air conditioning.​

For those without central air, that may mean installing a window air conditioner unit. But before you get set up for the season, taking a few simple steps could keep you cooler longer. A little extra care now will help your appliance work more efficiently, extend its life and reduce your power bills.​

“Here, a window unit can last five to 10 years if maintained properly,” says Hubert Miles, a certified master inspector and owner of Patriot Home Inspections in Summerville, South Carolina.

spinner image Image Alt Attribute

AARP Membership— $12 for your first year when you sign up for Automatic Renewal

Get instant access to members-only products and hundreds of discounts, a free second membership, and a subscription to AARP the Magazine.

Join Now

He recommends removing the unit from the window each season to protect it from harsh weather and improve heat retention in your home during the winter. “The unit sits exposed to the weather and it can rust out,” Miles says.​

Here are some additional tips to keep your appliance in tip-top shape.​

1. Clean the exterior

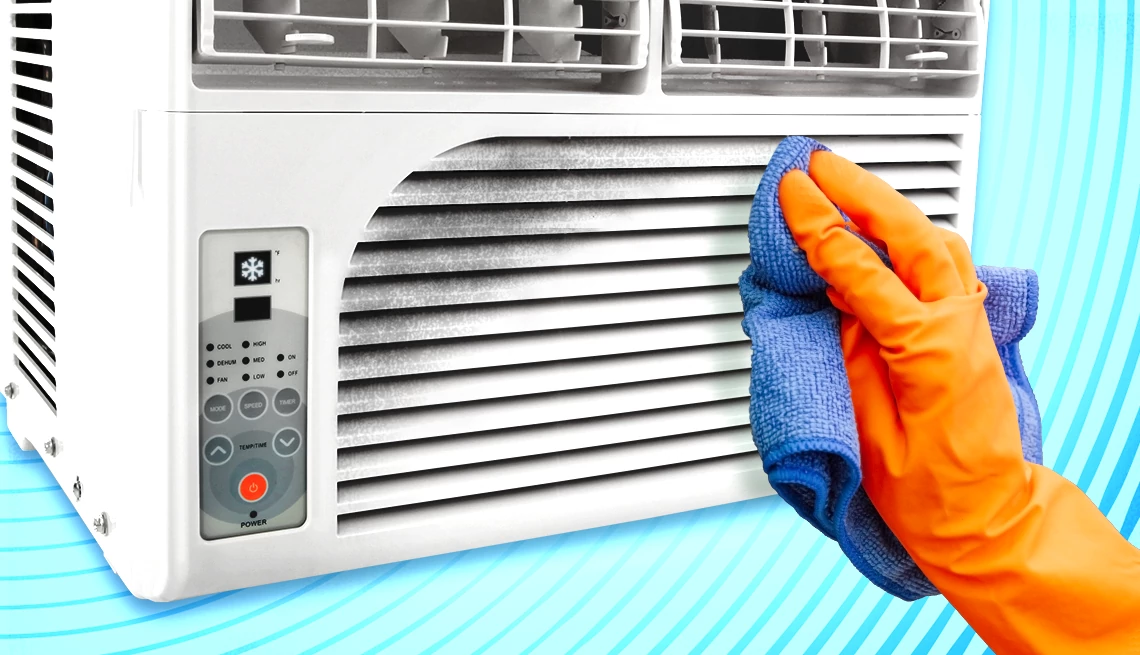
Before installing or turning on the unit, use a soft, damp cloth to remove dust, dirt and other debris from the exterior, including the vents, which can impede airflow.​

2. Clean the air filter

Dirty air filters can hinder airflow, reduce cooling efficiency and increase energy costs. Clean the filter about once a month, or as recommended by the manufacturer, when in use.​

“The filter inside is washable, but most people don’t ever take it out and clean it or do it regularly enough,” Miles says. ​

Deb Medeiros, 54, of Marion, Massachusetts, does. She removes the cover on four window units, takes out the filters, washes them in the sink and lets them air dry thoroughly before reinserting them. “It’s not a huge chore,” she says.​

3. Inspect other air conditioner components

Use a vacuum or soft brush to gently clean the condenser coils and fins to avoid damaging them. Inspect all of the components, such as hoses and seals, and make sure they’re secured and tightened.​

4. Check for proper drainage

A leaky unit can cause water damage and rot your windowsills. Check the condenser drain to make sure it’s free of debris that could cause a clog or water leak. Make sure the unit is slightly tilted toward the outside and the drain hose is attached properly and angled away from the windowsill so it drains properly.​

5. Inspect for mold

Mold can form on a window unit’s evaporator coils, drain pan, air filter and ducts due to the condensation process, explains Michael Golubev, CEO of Mold Busters in Ottawa, Canada. Mold can decrease efficiency, shorten a unit’s lifespan, affect indoor air quality and cause health problems. ​

Inspect and clean the interior, filter and drainage system for mold at least once a year, before or after the cooling season, Golubev recommends. Look for irregularly shaped spots that are black, green, white or orange and a musty odor. ​

If you find mold, clean the area with a mold remover or warm soapy water. This is easy to DIY, but older adults may be susceptible to respiratory problems caused by mold exposure due to weaker immune systems, Golubev notes. If the mold growth is extensive or inaccessible, consider hiring a professional. He recommends inspecting and cleaning mold from window units at least once a year, before or after the cooling season, and spraying a mold inhibitor on the unit’s components as a preventive measure.​

See more Health & Wellness offers >

6. Check the cord and electrical parts

Check the power cord and other electrical components for signs of wear or damage. Someone with electrical know-how may be able to replace the power cord, but consider hiring a professional for safety reasons.​

7. Test the AC unit before summer

Before installing your unit, check to see if it works properly. Turn the air conditioner on and set the thermostat to the lowest level says Stefan Bucur, owner of the home improvement website Rhythm of the Home. If it doesn’t seem to be cooling or you hear odd noises, you may want to contact a professional. Poor performance may signal a refrigerant leak, but checking for that is not typically a DIY task. Consider getting an annual service contract by an HVAC professional to stay on top of maintenance.​

8. Choose a location

When deciding where to place your window unit, choose a window that’s large enough, provides adequate support and is near an electrical outlet. Using an extension cord is not recommended. Small window units use standard 120-volts outlets, but larger units and those with a heating function need a 240-volt wall outlet. Buyers should check the manufacturer’s specifications before purchasing.​

If you haven’t bought a unit yet, first measure the window to ensure it will fit. And measure the room’s square footage to ensure you get the proper unit size needed to cool the space. ​

spinner image membership-card-w-shadow-192x134

LEARN MORE ABOUT AARP MEMBERSHIP.

Get instant access to members-only products and hundreds of discounts, a free second membership, and a subscription to AARP the Magazine.

BTUs, or British thermal units, is a measurement that reflects how much energy an air conditioner uses to remove heat in an hour. A window unit with about 6,000 BTUs, for example, can cool up to a 250-square-foot room like a bedroom. See the sidebar below about portable air conditioners.​

9. Clean the window area

Before installing the unit, clean the windowsill and immediate area. Remove any obstructions, such as curtains or blinds, so cool air flows freely.​

10. Put up a support bracket

A window unit, especially a larger one, may need a mounting bracket to support it and keep it level, home inspector Miles says. The manufacturer’s instructions will note if a bracket is required and will provide it. Put the bracket up first because it will help steady the unit during installation, he adds.​

Check your local laws and building codes. Some ordinances require using support brackets for safety reasons.​

11. Install the air conditioning unit

Follow the manufacturer’s instructions for installation. Some DIYers may be able to install a smaller window unit themselves, but many units are heavy (40 to 100 pounds) and require a helping hand to install. Ask a family member, friend or neighbor to assist you. In addition, nonprofit groups in many areas offer handyman programs for older adults; check with your local senior center to see what is available in your area.​

Once installed, lower the window so it sits tightly against the top of the air conditioner. Extend the unit’s side panels to block the gap between the unit and the window frame, using screws to secure the panels if needed. Use foam insulation or weather-stripping tape to seal any remaining gaps to prevent air leaks. Consider installing window locks for safety.​

Paul Bees, 65, an executive recruiter who lives in St. Paul, Minnesota, uses insulation and foam around two window units so cooled air doesn’t leak out. For the larger unit, which sits over a basement egress window, he had to build a wooden “contraption” to support the unit. ​

Don’t forget to plug it in. You’re ready to go.​ ​

Portable Air Conditioners: A Flexible Alternative

Consider a freestanding air conditioner on wheels (also called a windowless air conditioner) for a small space, if you want to move the appliance between rooms or a window unit is banned by your landlord or homeowners association.​

They’re inexpensive and easy to install, but they have limited cooling capacity and use more energy than window units or central air conditioning. These units draw in warm air, use refrigerant to cool it and release it into the room; the warm air is vented outside.​

The two main types are single-hose units, which are less expensive but less efficient, and dual-hose units, which cool faster and more efficiently with separate intake and exhaust hoses. Most units come with a window installation kit, including a vent hose.​

Portable air conditioners typically cost about $100 to about $650, depending on the type and size. That compares with about $200 to $850 for a window unit and several thousand dollars for central air conditioning. ​

Rust isn’t an issue because portable units stay indoors, but mold can form inside. Experts recommend similar inspection, cleaning and maintenance steps as for window units — all DIY possible. Before purchasing, home inspector Miles suggests checking if the portable unit contains a washable air filter or a HEPA filter you must buy and replace.​​​

Discover AARP Members Only Access

Join AARP to Continue

Already a Member?