Javascript is not enabled.

Javascript must be enabled to use this site. Please enable Javascript in your browser and try again.

Skip to content
Content starts here
CLOSE ×

Search

Leaving AARP.org Website

You are now leaving AARP.org and going to a website that is not operated by AARP. A different privacy policy and terms of service will apply.

7 Cleaning Tips to Make Your Oven and Stovetop Sparkle

Combine a bit of elbow grease with DIY solutions and commercial products


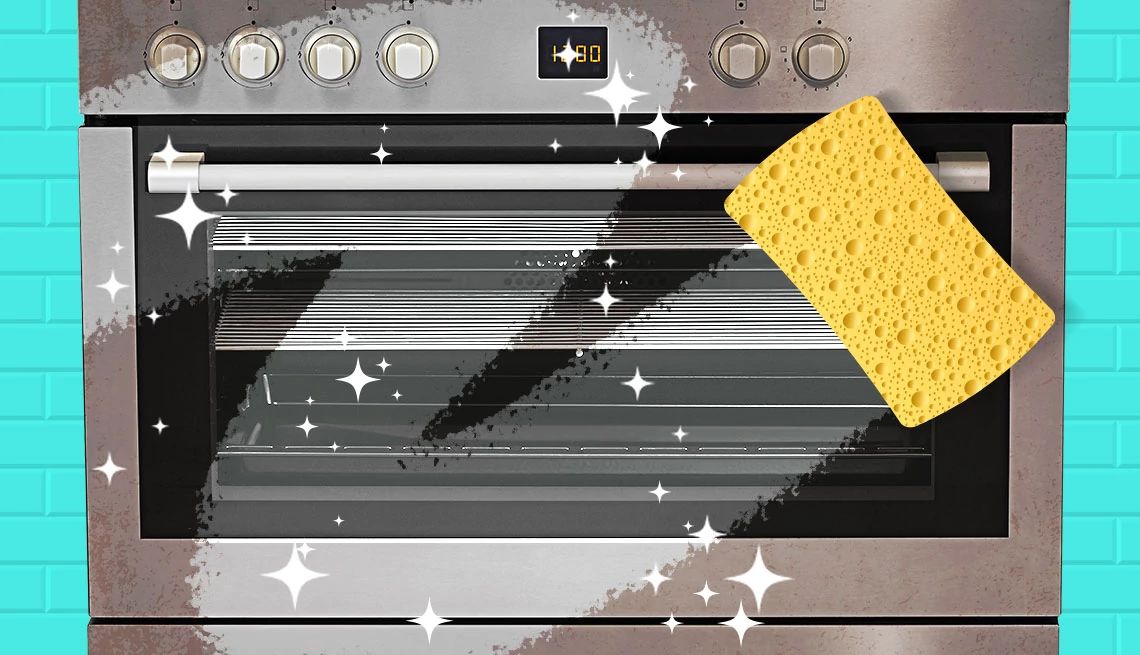
spinner image a sparkling clean oven surrounded by various cleaning products
Getty Images

Ovens and stovetops often get a daily workout churning out meals and baked goods, but they don’t always get the TLC needed when it comes to cleanup. ​

Many people may dread oven cleaning or ignore it altogether. Who likes chemical fumes and caked-on crud? But a dirty oven isn’t just an eyesore, it can spoil the flavor of food, and built-up grease can pose a fire risk. ​

spinner image Image Alt Attribute

AARP Membership— $12 for your first year when you sign up for Automatic Renewal

Get instant access to members-only products and hundreds of discounts, a free second membership, and a subscription to AARP the Magazine.

Join Now

“The key is not to let it go too long,” says Katie Holdefehr, senior editor of RealSimple.com and host of the “Spotless” cleaning videos. “It’s so much less daunting than if you let everything collect.”​

Nancy Steed agrees. When she moved to Wilmington, North Carolina, last summer, the oven in her new home was so dirty “my husband and I had to get in there and scrub,” the 54-year-old says. “I think there were tears involved.”​

How often you clean the oven depends on how often it’s used. If you cook a lot, experts recommend using natural home cleaning methods once a week and store-bought products once a month.

Otherwise, you can clean once every few months or a couple of times a year.​

Follow these steps to make oven cleaning easier:​

1. Do some prep work

To start, make sure the oven is off. Oven cleaning can be a messy job, so wear rubber gloves and an apron or old clothes. Remove any large scraps of food stuck inside the oven walls.​

2. Choose the right cleaners

You can buy plenty of commercial products or make your own from supplies in your kitchen. Natural cleaning ingredients include baking soda, dish soap, vinegar and lemons.​

Start with the gentlest option and work your way up, says Kait Schulhof of A Clean Bee blog and podcast. She likes using distilled white vinegar because “it’s safe, inexpensive, very effective and relatively sustainable.”​

If you use commercial products, check the Environmental Working Group’s website about potentially harmful ingredients. Also, check your appliance’s manual for the manufacturer’s cleaning recommendations. Improper cleaning could invalidate the warranty.​

Home & Real Estate

ADT™ Home Security

Savings on monthly home security monitoring

See more Home & Real Estate offers >

3. Remove oven racks

Remove the racks and soak them overnight in a bathtub or laundry sink full of warm, soapy water to break down the grease and burnt-on food. If you use a tub, line it with towels to protect it from scratches. In the morning, wipe the racks down, scrubbing off any remaining bits.​

4. Scour the oven interior

If the oven’s interior isn’t too dirty, wipe it down with a sponge or cloth soaked in distilled white vinegar, Schulhof advises. ​

Another natural method is to apply a paste made of baking soda and water to the oven walls, then let it sit for 30-60 minutes or overnight. Afterward, wipe down with a sponge soaked in distilled white vinegar, removing all the paste from cracks in the oven.​

For a deep clean or if the oven is really grimy, consider using a commercial oven cleaner. Some people prefer foam because it clings to surfaces, whereas spray can drip. Use an old toothbrush for corners and cracks. Check out Easy-Off Fume Free Oven Cleaner, Goo Gone Oven & Grill Cleaner or Kona Safe/Clean Oven & Grill Cleaner Spray.​

Avoid soap because it leaves a film, Schulhof says, and be wary of anything not labeled an oven cleaner because it may leave a residue that can create fumes when the oven heats up.​

5. Use the self-clean setting

If your oven is really dirty, use the self-cleaning feature. Typically, a self-cleaning oven setting raises the temperature to a high heat to burn off any crud. Some ovens also have a steam-cleaning setting, which uses water and a lower temperature to allow residue to be wiped away more easily. Before activating, empty the oven, including the racks, and use a silicone or wooden tool to scrape off encrusted food to minimize smoke and reduce the risk of fire. Steam cleaning may take one to 1.5 hours, while the high-heat self-cleaning approach may take three hours or longer. It will heat up the room and may produce fumes, so open the windows or turn on a fan for ventilation. Keep pets and children away from the hot oven, and afterward, let the oven cool and wipe down the inside, if needed. ​

spinner image membership-card-w-shadow-192x134

LEARN MORE ABOUT AARP MEMBERSHIP.

Get instant access to members-only products and hundreds of discounts, a free second membership, and a subscription to AARP the Magazine.

“The heat is doing all of the hard work for you,” Holdefehr says. “It cleans with minimal effort without a lot of chemicals.”

​Some consumers complain that the high heat of the self-cleaning feature damages their ovens, says Paul Hope, senior home and appliance editor at Consumer Reports, who notes that the oven temperature during this process typically gets up to 850 degrees. But Hope says CR survey data shows that it’s a rare problem — only 1 percent of 40,000 range owners surveyed reported this issue.

“My hypothesis is that the vast majority of people run those oven-cleaning cycles at a really pivotal, crucial time, like Thanksgiving,” he says. “So when it does happen, it tends to have a pretty huge impact.”

If you haven’t run the self-cleaning feature before, do it with plenty of time before a big event, just in case there’s a problem, Hope suggests.

When Elizabeth Skidmore, 58, of St. Petersburg, Florida, moved last year to a new home, she tried the self-cleaning feature on the oven after unsuccessfully trying to clean it herself. “It got it so clean — it was amazing,” she says.​

6. Don’t forget the door

Even if you use a self-cleaning feature, the oven door’s window may not look clean. Spray a glass cleaner on a cloth or spread a thick coat of a baking-soda-and-water mixture on the glass, letting it sit for 20 minutes to overnight and then wipe, Holdefehr said. ​

7. Clean the cooktop often

Experts recommend cleaning your cooktop after every use — or as often as possible — so spills don’t harden. Wipe it down weekly. ​

The cleaning process and products used depend on the type of cooktop. Soapy warm water or baking soda paste works on most surfaces, including drip pans, electric coils and gas grates, Holdefehr says. Wipe well, leaving no residue.​

For stainless steel, use white vinegar to clean and remove fingerprints, or a specialty product such as Weiman Glass Cooktop Cleaner and Polish, Schulhof says. For glass, use the baking soda paste with liquid soap on burn marks (let sit for at least an hour) and with vinegar for watermarks (let sit for two nights covered in plastic wrap). Also check out Carbona Ceramic Cooktop Cleaner and EZ Brite Glass and Ceramic Cooktop Cleaner & Conditioner.​

When it comes to cleaning, a little effort goes a long way. The more your get into the habit of regular cleaning, the longer you can go between deep cleans. And a brighter oven and stovetop make for an inviting kitchen and a welcome place to create delicious meals. ​

Video: How to Put Out a Grease Fire Safely

Editor's note: This article was originally published on April 13, 2023. It has been updated to reflect new information. 

Discover AARP Members Only Access

Join AARP to Continue

Already a Member?