Javascript is not enabled.

Javascript must be enabled to use this site. Please enable Javascript in your browser and try again.

Skip to content
Content starts here
CLOSE ×
Search
Leaving AARP.org Website

You are now leaving AARP.org and going to a website that is not operated by AARP. A different privacy policy and terms of service will apply.

Delicious Meals You Can Make in the Microwave — and Expert Hacks on How to Do it Well

There are benefits to cooking in the microwave (need less oil, uses less energy), but to make your food tasty, follow these hints


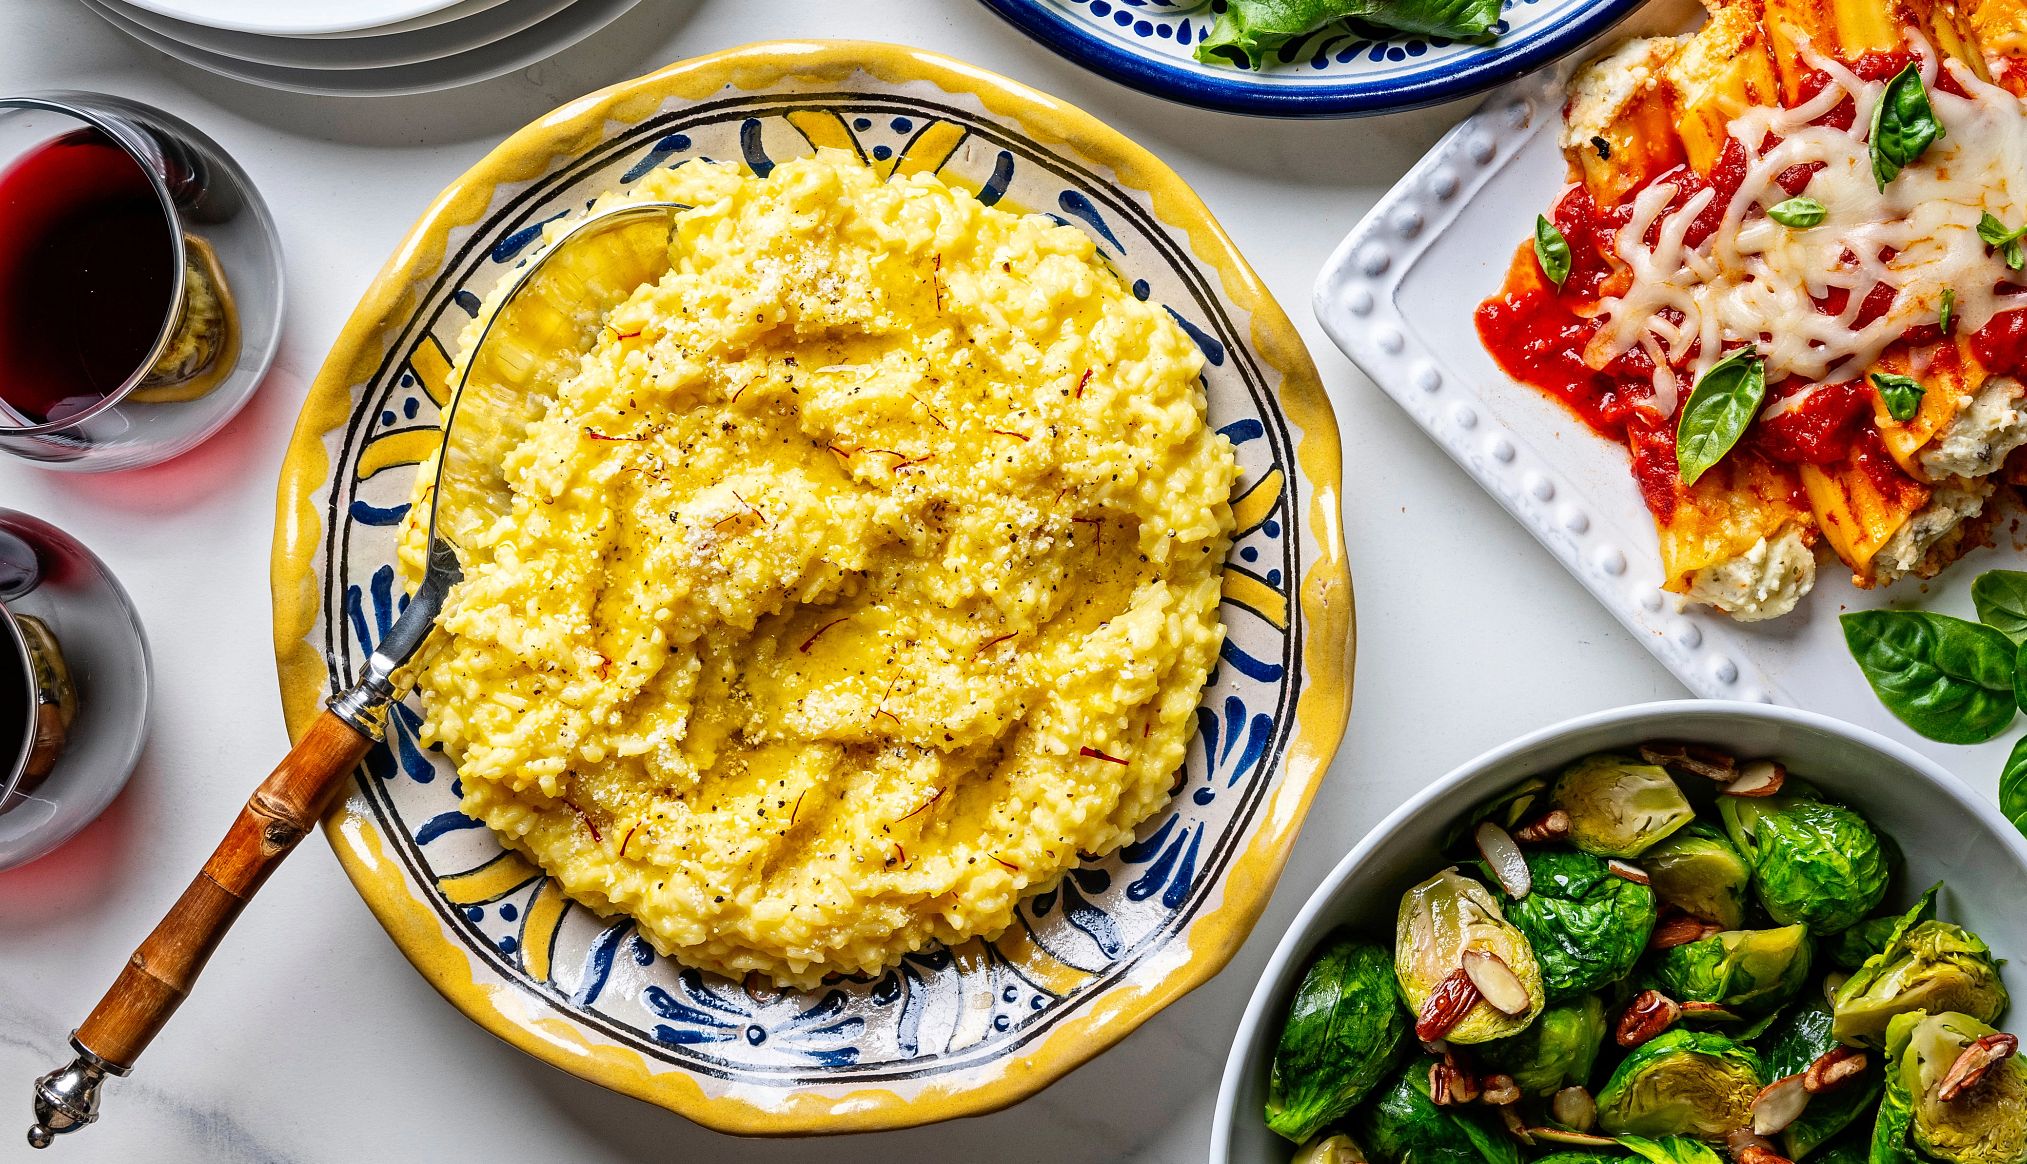
spinner image plates of ricotta, manicotti and brussel sprouts on a table
Photo by Scott Suchman: Food Styling by Nicola Justine Davis

The Michelin chefs among us might raise an eyebrow (or even two) at the thought of using the microwave for more than just warming our tea.

But for people looking for a simple solution for cooking meals at home, microwave cooking saves time, hassles and cleanup.

spinner image Image Alt Attribute

AARP Membership— $12 for your first year when you sign up for Automatic Renewal

Get instant access to members-only products and hundreds of discounts, a free second membership, and a subscription to AARP the Magazine.

Join Now

“Even if you love cooking with traditional methods, don’t overlook the benefits of using a microwave oven,” says accomplished home cook and food influencer Pam Stein, 59, of In Pam's Kitchen. She’s spent the past 20 years developing and adapting recipes for microwave cooking after realizing how much of an asset the appliance was to her when it came to making meals.  

Stein lays out why you should be cooking more in the microwave and how to do it well. Plus, she offers her six go-to microwave friendly meals, including one sweet treat. Click on what sounds delicious to go straight to the recipes: manicotti | cheesy scrambled eggs | nutty Brussels sprouts | saffron risotto | stuffed peppers | café au lait mug cake

The benefits of microwave cooking

Ideal for saving space. “This makes (microwaves) an ideal tool for those individuals residing in small space environments, such as a dorm room, small apartment, or RV,” Stein says.  

Safety first. Microwaves lack hot burners or flames, making them a safer option.

Uses less energy than ovens. They also use less energy than a traditional range, which can translate to energy bill savings, Stein adds.

Little fat or oil needed. Microwave cooking requires little fat or oil, so meals made this way can be a potentially healthier alternative for people on a low or no-fat diet. 

What to know before you get started

Water is a must. “Water is the key to microwave cooking,” she says. “The oven causes the water particles in food to vibrate so quickly that heat is produced. It is this generated heat which cooks your food.”

Microwaves don’t do crispy. One of the most common problems is overcooking, which can alter foods’ taste and texture, making it dry or rubbery. Microwaves are also not the best at preparing crispy and browned foods, she says. 

“Cooking from the inside out and using water particles to cook, it becomes more difficult for the oven to produce a crispy brown texture,” she explains. 

Know your microwave wattage. Make sure you know the power level and wattage of the microwave oven used in your recipe, Stein says. “A recipe designed for 5 minutes in a 700 watt microwave will be overcooked in your 1000 watt microwave without a time adjustment,” she says. 

Use microwave safe containers/plastic wrap. Be sure to cook foods in microwave-safe containers that won’t warp or melt — oval and round glass or ceramic plates and bowls work best (squares and rectangular vessels can build up heat in their corners and prevent even heat distribution, Stein says). 

Any plastics used in the microwave should be labeled microwave safe so they don’t melt or leak chemicals, like BPA, into food. And always vent lids slightly in order to avoid steam build up, remembering to use oven mitts when handling hot dishes. 

If you’re using plastic wrap instead of a lid, be sure to use only microwave safe plastic wrap free of harmful chemicals, Stein advises.

Use a turntable. Also, use a turntable or rotate your food during cooking to ensure it is evenly cooked. 

Leave these foods off your microwave menu. Fish has a tendency to dry out, says Stein, and leafy greens like kale in spinach are high in minerals that replicate metal, which can cause sparks. 
Ready for some recipes?

Note that all of the below recipes are adapted to 1000 watt ovens and cooking times are approximate.

Quick and easy pasta pleaser

A stuffed shell dish can seem like a lot of work when you involve steps like boiling water on the stove, assembling and then baking everything in a conventional oven. 

Home & Real Estate

ADT™ Home Security

Savings on monthly home security monitoring

See more Home & Real Estate offers >

But you can make this classic Italian crowd-pleaser in a hurry in the microwave instead. 

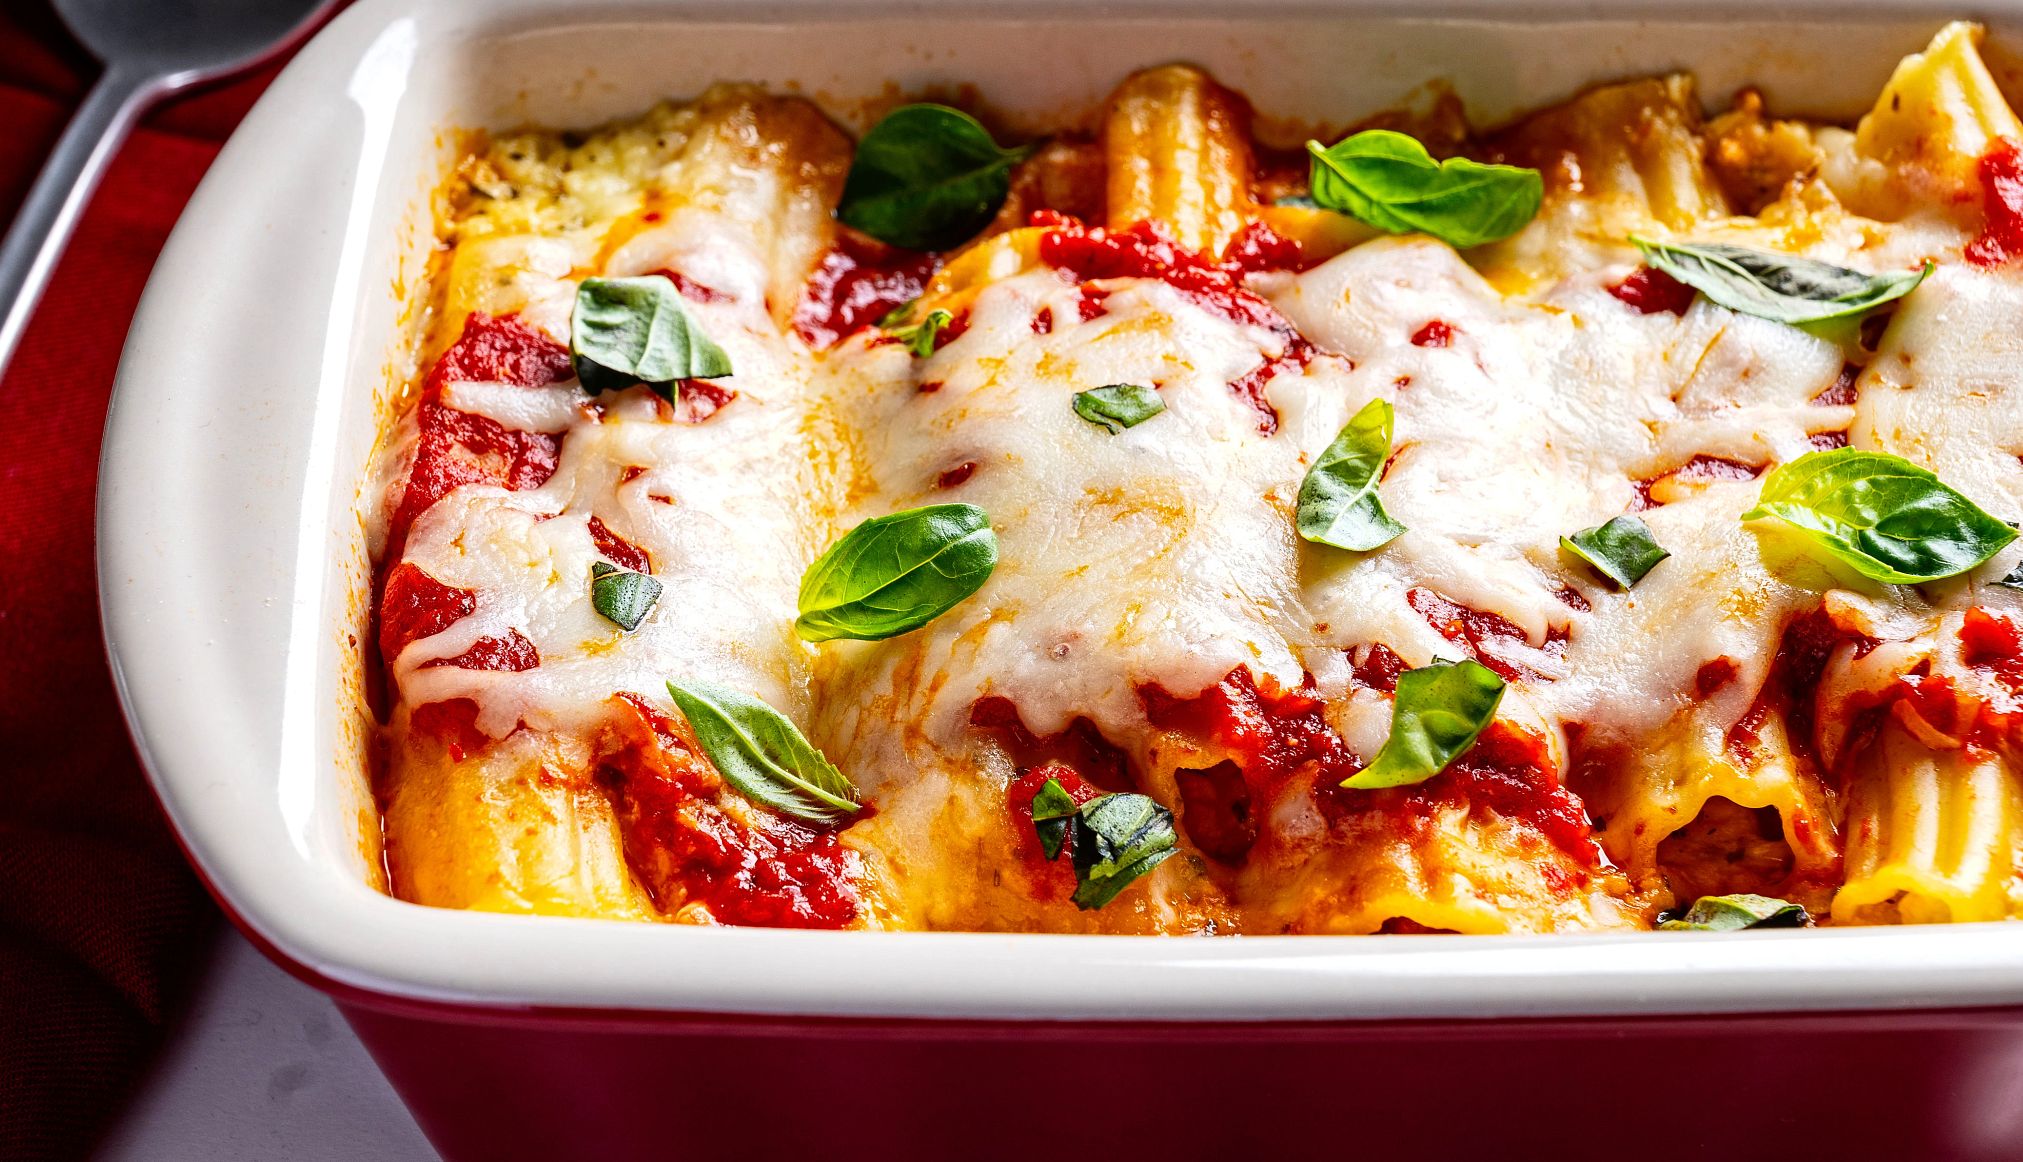
“My daughter has been known to invite friends for dinner at the last minute. Thanks to this quick and easy manicotti using ingredients I already have in my pantry and fridge, dinner is ready in a flash! Just add a salad for the ideal Italian meal,” Stein says. 

spinner image a dish of manicotti
Photo by Scott Suchman: Food Styling by Nicola Justine Davis

MANICOTTI

  • 8 manicotti tubes, uncooked 
  • 1 cup water 
  • 2 cups ricotta cheese 
  • 2 cups shredded mozzarella cheese, divided 
  • 1 large egg, yolk broken 
  • 1 teaspoon dried basil 
  • ½ teaspoon dried oregano 
  • ½ teaspoon dried parsley 
  • 1 ½ cups marinara sauce, divided 
  • ½ cup grated parmigiano reggiano cheese 

Instructions:  

  1. Place manicotti tubes in a shallow microwave safe baking dish (do not overlap) and add water. 
  2. Cover with vented plastic wrap and microwave on high power for 3 minutes. Uncover and turn over the manicotti tubes. Recover and cook for an additional 2 minutes, until slightly softened but still firm.  
  3. Remove tubes from dish and let rest on paper towel to cool and remove excess water. 
  4. In a medium bowl stir together the ricotta, 1-1/4 cups mozzarella cheese, egg and dried herbs. 
  5. Fill each manicotti tube with the cheese mixture, being careful not to overstuff and break the tube.  
  6. Pour 3/4 cup of marinara sauce in the bottom of a baking dish and spread evenly. Place filled manicotti tubes over the sauce without overlapping. Pour the remaining sauce over the tubes.  
  7. Cover with vented plastic wrap and microwave on high power for 8 minutes. Uncover and turn over the manicotti tubes. Recover and cook on half power (50%) for an additional 8 minutes. 
  8. Sprinkle the remaining mozzarella cheese over the sauce. Recover and cook for an  additional 5 minutes or until the cheese is melted.  
  9. Remove from microwave oven and let stand, covered, for 5 minutes. Sprinkle with the parmigiano reggiano cheese and serve warm.  

Breakfast of champions – with a kick

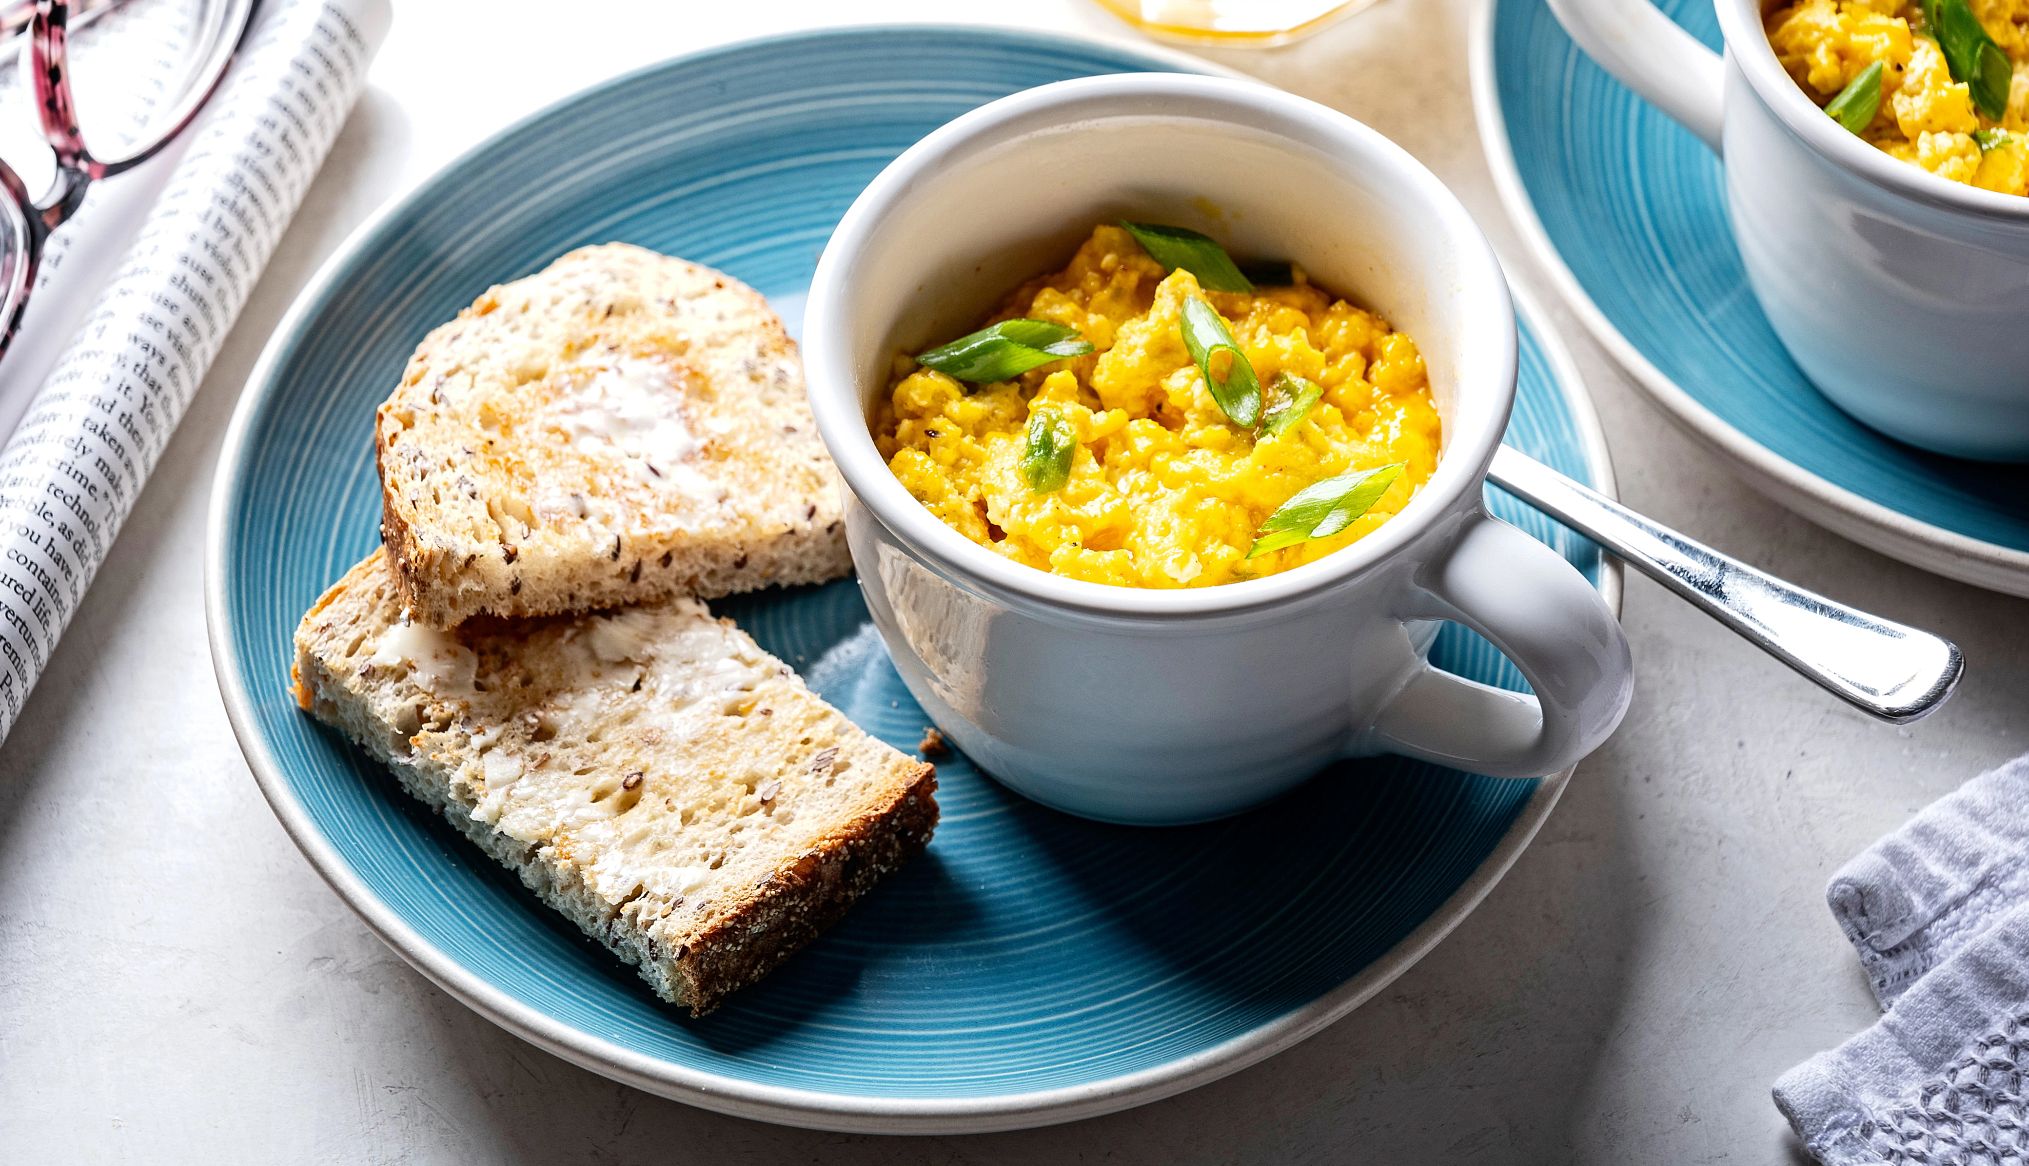
Breakfast whipped up in a microwavable mug couldn’t be easier, and you can whip it up while your coffee is brewing, says Stein. 

Cajun seasoning, as in this recipe, livens up a standard scramble — or subbing for your own favorite herb, fresh or dried, instead. A spoonful of salsa on top makes a pretty finish and fresh fruit on the side completes the meal. 

spinner image a bowl of cheesy eggs on a plate with toast
Photo by Scott Suchman: Food Styling by Nicola Justine Davis

CHEESY SCRAMBLED EGGS

  • 2 large eggs
  • 2 tablespoons milk
  • ¼ teaspoon cajun seasoning
  • 2 teaspoons chopped green onion (green part only)
  • 4 teaspoons shredded cheddar cheese, divided

Instructions:

  1. Crack the eggs into a microwavable mug. Add milk and cajun seasoning. Use a fork to mix well.
  2. Microwave uncovered on high power for 30 seconds. Remove mug from the microwave and use a fork to mix. Repeat this pattern three more times — cook and stir every 30 seconds for a total cook time of 2 minutes.
  3. Stir in green onion and 3 teaspoons cheese. Return to microwave and cook uncovered for 30 seconds.
  4. Remove from microwave and let stand for 30 seconds. Sprinkle with the remaining cheese. Serve warm.

A star side dish loaded with goodness

Vitamins found in vegetables, such as vitamin C and beta carotene, are heat sensitive and risk losing some nutrients with traditional cooking methods such as steaming, Stein says. 

But you don’t have to worry about that with this delicious side dish recipe with just the right amount of cruciferous benefits and nutty crunch. 

“In a microwave with little water, there is less evaporation,” Stein says. “When coupled with a shortened cooking time, the vegetable’s nutrients are retained, as is their vivid color.” 

This dish can be served with almost anything, she says — the perfect side for weeknight dining or a holiday feast. 

spinner image membership-card-w-shadow-192x134

LEARN MORE ABOUT AARP MEMBERSHIP.

Get instant access to members-only products and hundreds of discounts, a free second membership, and a subscription to AARP the Magazine.

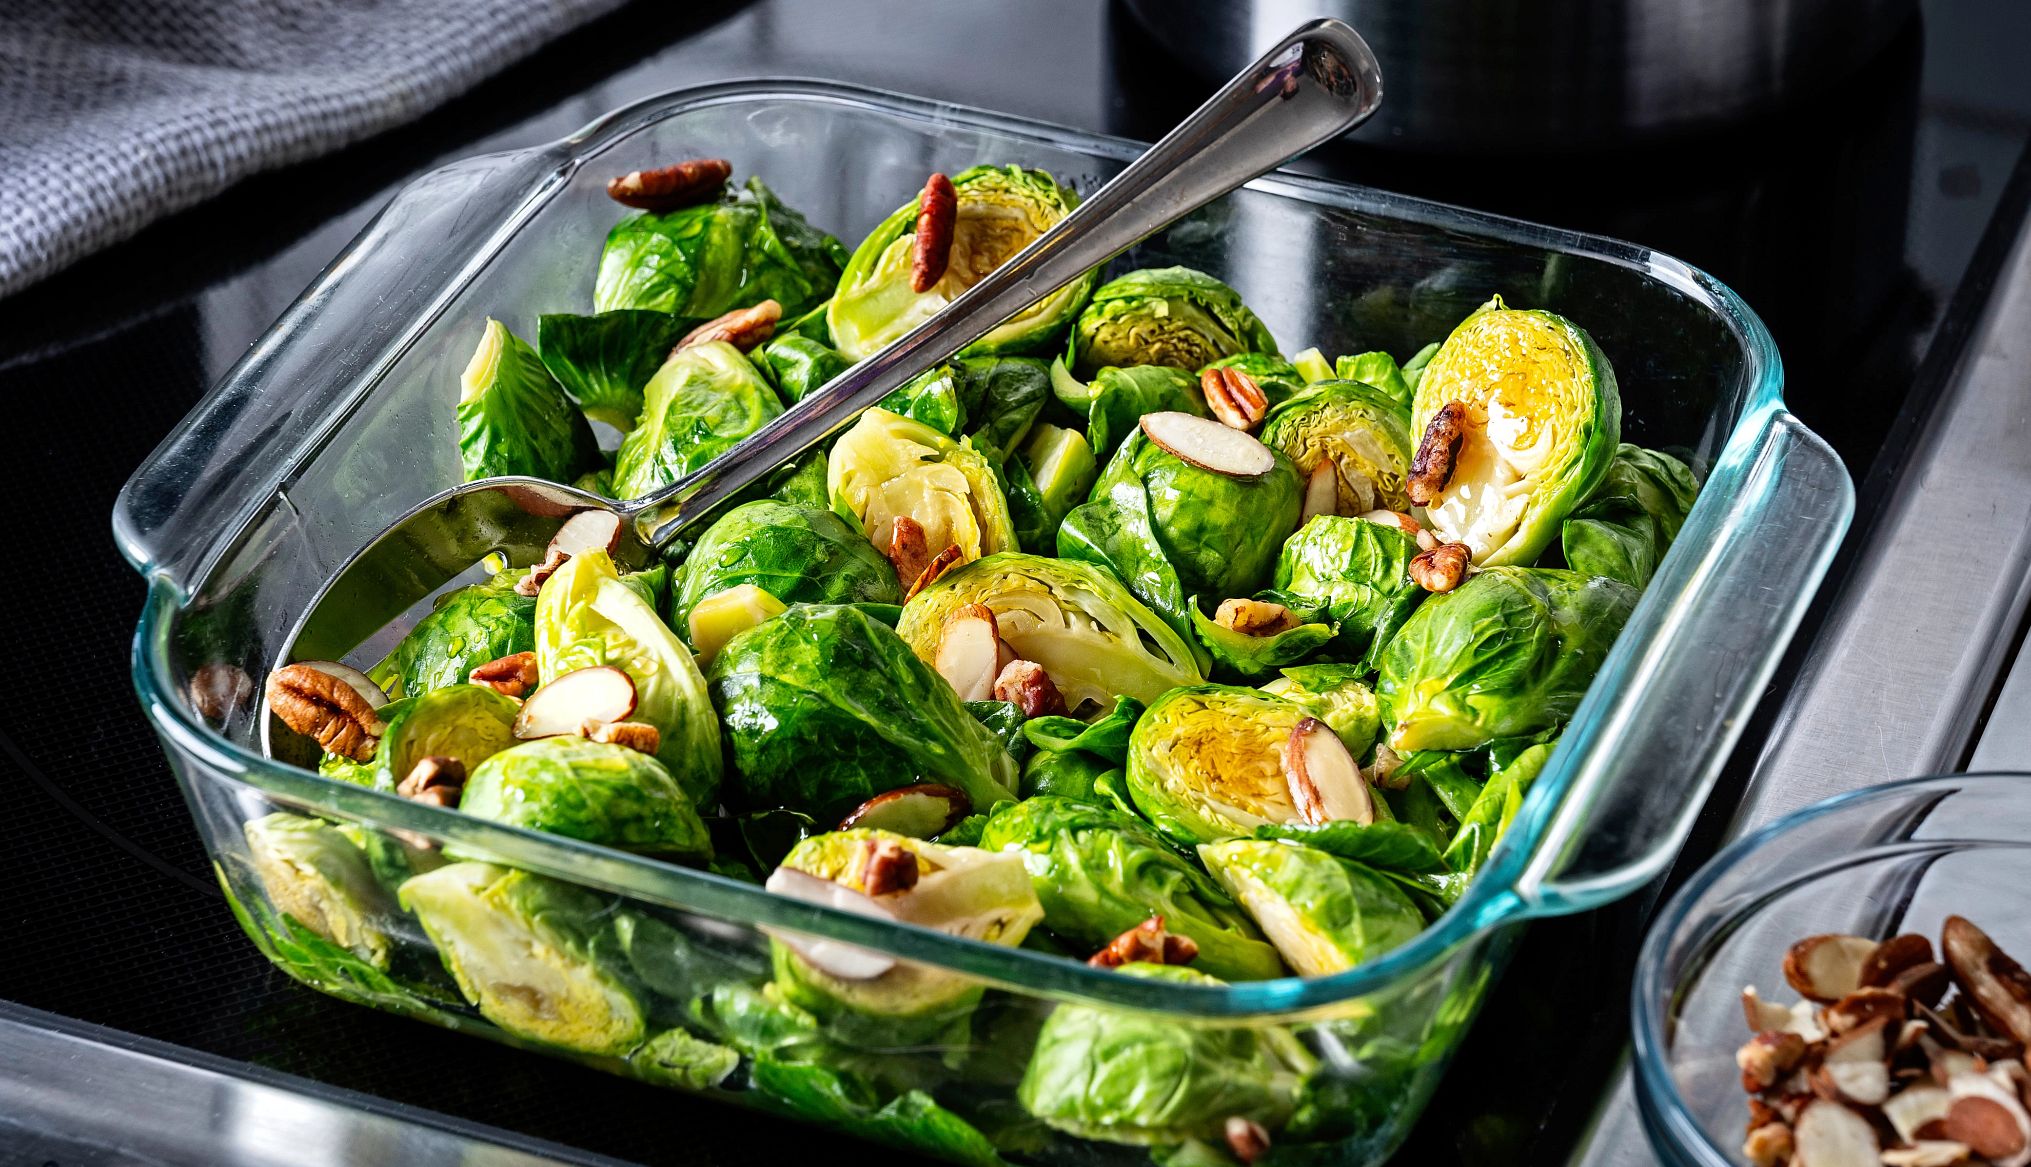
spinner image a pan of brussel sprouts
Photo by Scott Suchman: Food Styling by Nicola Justine Davis

NUTTY BRUSSELS SPROUTS

  • 1 pound Brussels sprouts, trimmed and halved
  • ¼ cup water
  • 1 tablespoon unsalted butter, cut into pieces
  • 1 ½ tablespoons raw honey
  • 2 tablespoons sliced almonds
  • 2 tablespoons pecan pieces

Instructions: 

  1. Place Brussels sprouts and water in a 2 quart baking dish. Cover with plastic wrap, slightly venting to allow excess steam to escape. Microwave on full power for 4 minutes. Drain remaining water.
  2. Add the butter and honey to the vegetables. Cover with plastic wrap, slightly venting to allow excess steam to escape. Microwave on full power for 2 minutes. Stir to coat the Brussels sprouts.
  3. Sprinkle with the nuts and serve warm.

A laborious dish made quick and easy  

Risotto can be notoriously tricky to make on a stovetop — not to mention requiring a constant eye on it and nonstop stirring, which makes this microwavable shortcut all the more satisfying. 

“Undeniably, saffron is one of the most expensive spices, but don't let that deter you from making this luxurious, creamy risotto,” Stein says, adding that a just a few threads go a long way. You can consider adding protein like chicken to make it an entree. 

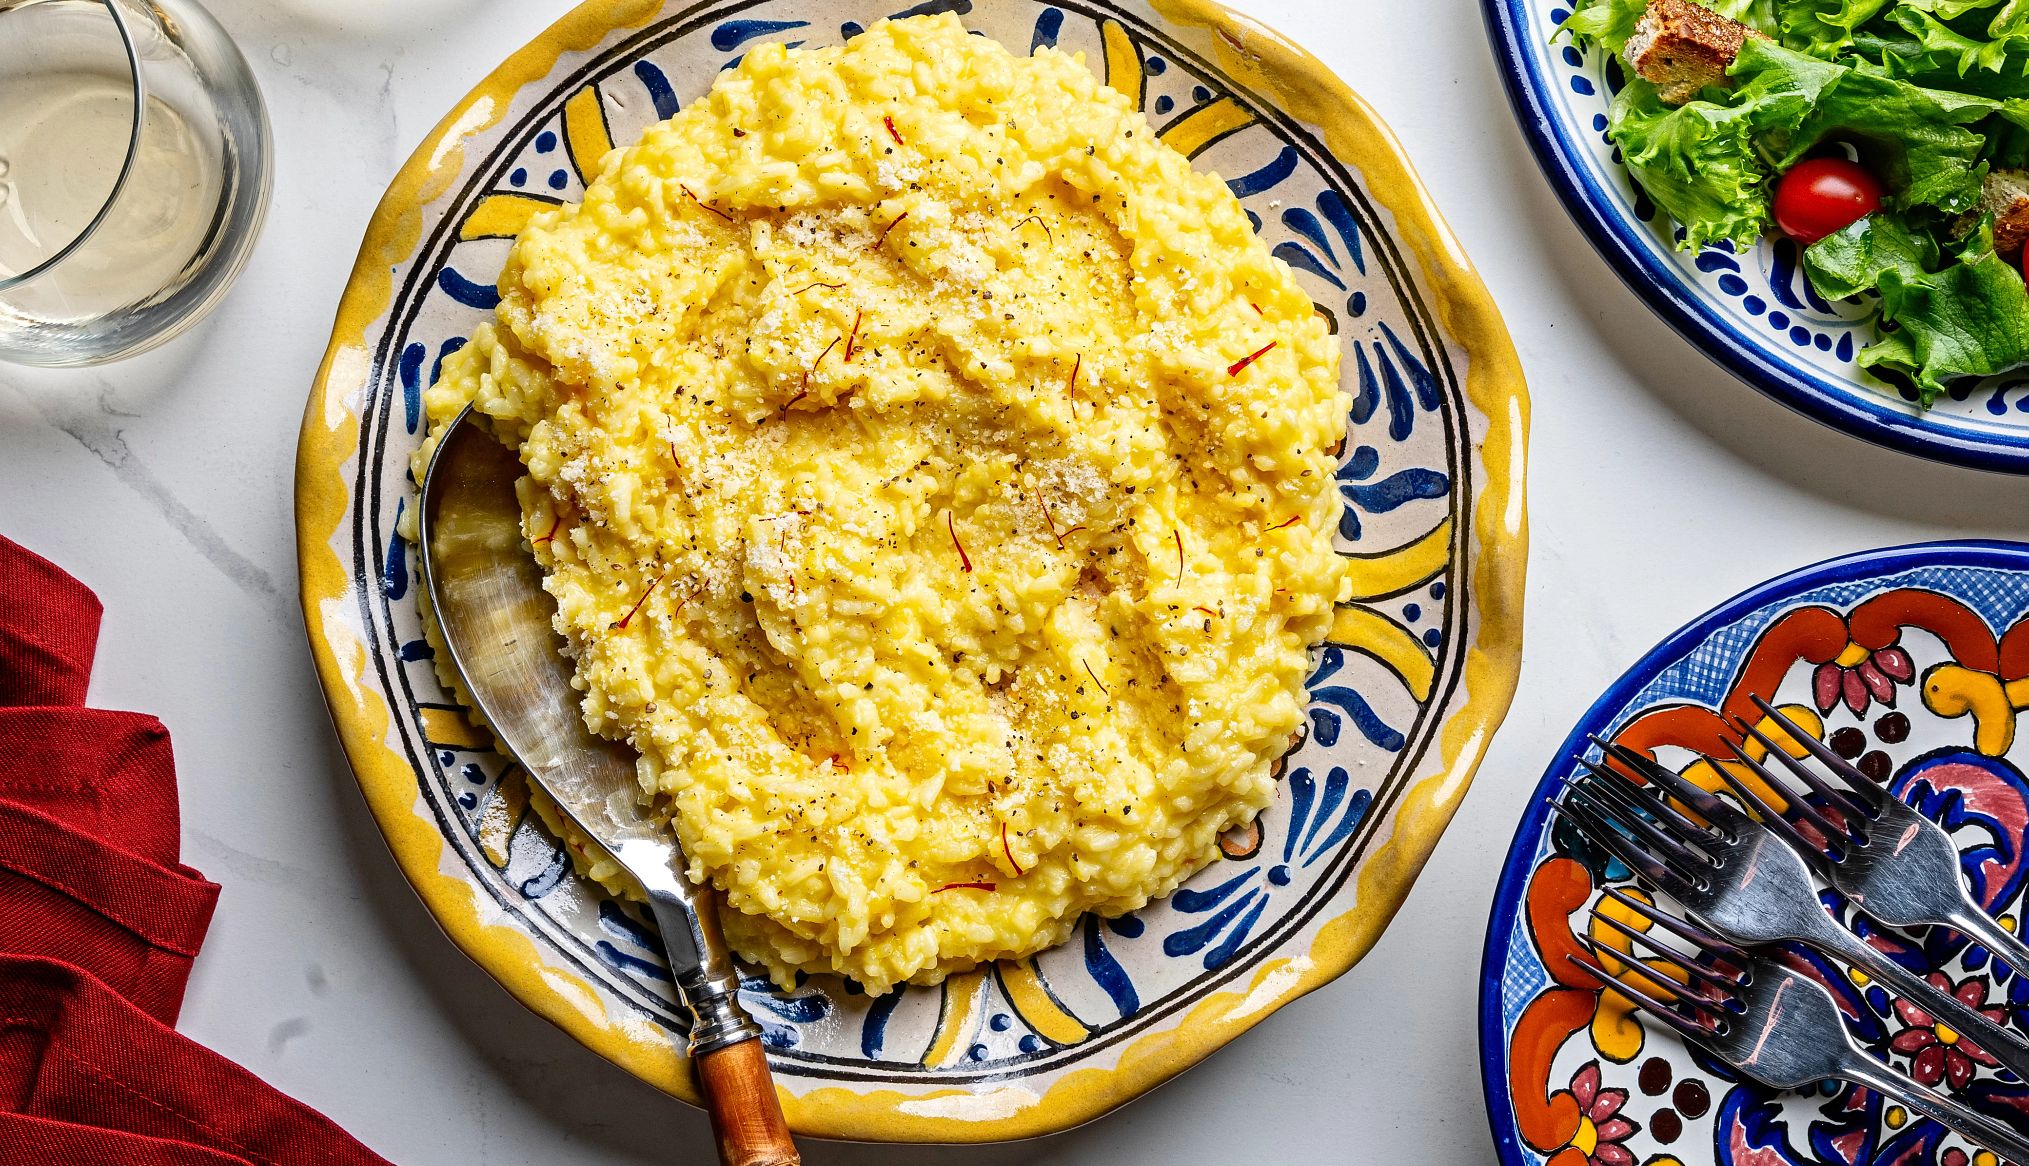
spinner image a plate of risotto on a table
Photo by Scott Suchman: Food Styling by Nicola Justine Davis

SAFFRON RISOTTO

  • 1 shallot, finely chopped
  • 1 clove garlic, minced through a press
  • ¼ teaspoon salt
  • 4 tablespoons unsalted butter, divided
  • 1 cup Arborio rice
  • ¾ cup dry white wine, at room temperature
  • 1/8 teaspoon saffron threads
  • 2 to 2 ¼ cups low sodium chicken broth
  • ⅓ cup grated parmigiano reggiano cheese, plus more for serving, if desired

Instructions: 

  1. Place the chopped shallot, garlic, salt, and 2 tablespoons of butter in a microwave-safe 3 quart bowl. Cover with plastic wrap, slightly venting to allow excess steam to escape. Microwave on full power for 4 minutes.
  2. Add the rice to the bowl, and stir to coat. Stir in the wine, saffron, and 1 1/2 cups of chicken broth, cover with plastic wrap, slightly venting to allow excess steam to escape. Microwave on full power for 5 minutes.
  3. Stir the risotto, adding 1/2 cup chicken broth. Cover with plastic wrap, slightly venting to allow excess steam to escape. Microwave on full power for 10-12 minutes until the rice is cooked.
  4. Add the remaining 2 tablespoons butter and the cheese. Stir until creamy. The risotto should be thick but pourable; if too stiff, stir in 2 tablespoons of broth at a time until a creamy texture is achieved.
  5. Cover and let stand for 2 minutes before serving. Transfer to individual bowls or a serving bowl.
  6. Serve warm. Sprinkle with additional cheese, if desired.

A yummy vegetarian option

Here’s another dish you might ordinarily relegate to a traditional oven that works a charm in the microwave, too. Vegetarian stuffed peppers pretty up any table as a healthy side dish for sharing and work as a main course, too. 

“Stuffed with rice, these vegetarian peppers will satisfy even the hungriest of appetites, making them a wonderful healthier alternative to the traditional meat filled peppers to which people are accustomed,” Stein says. 

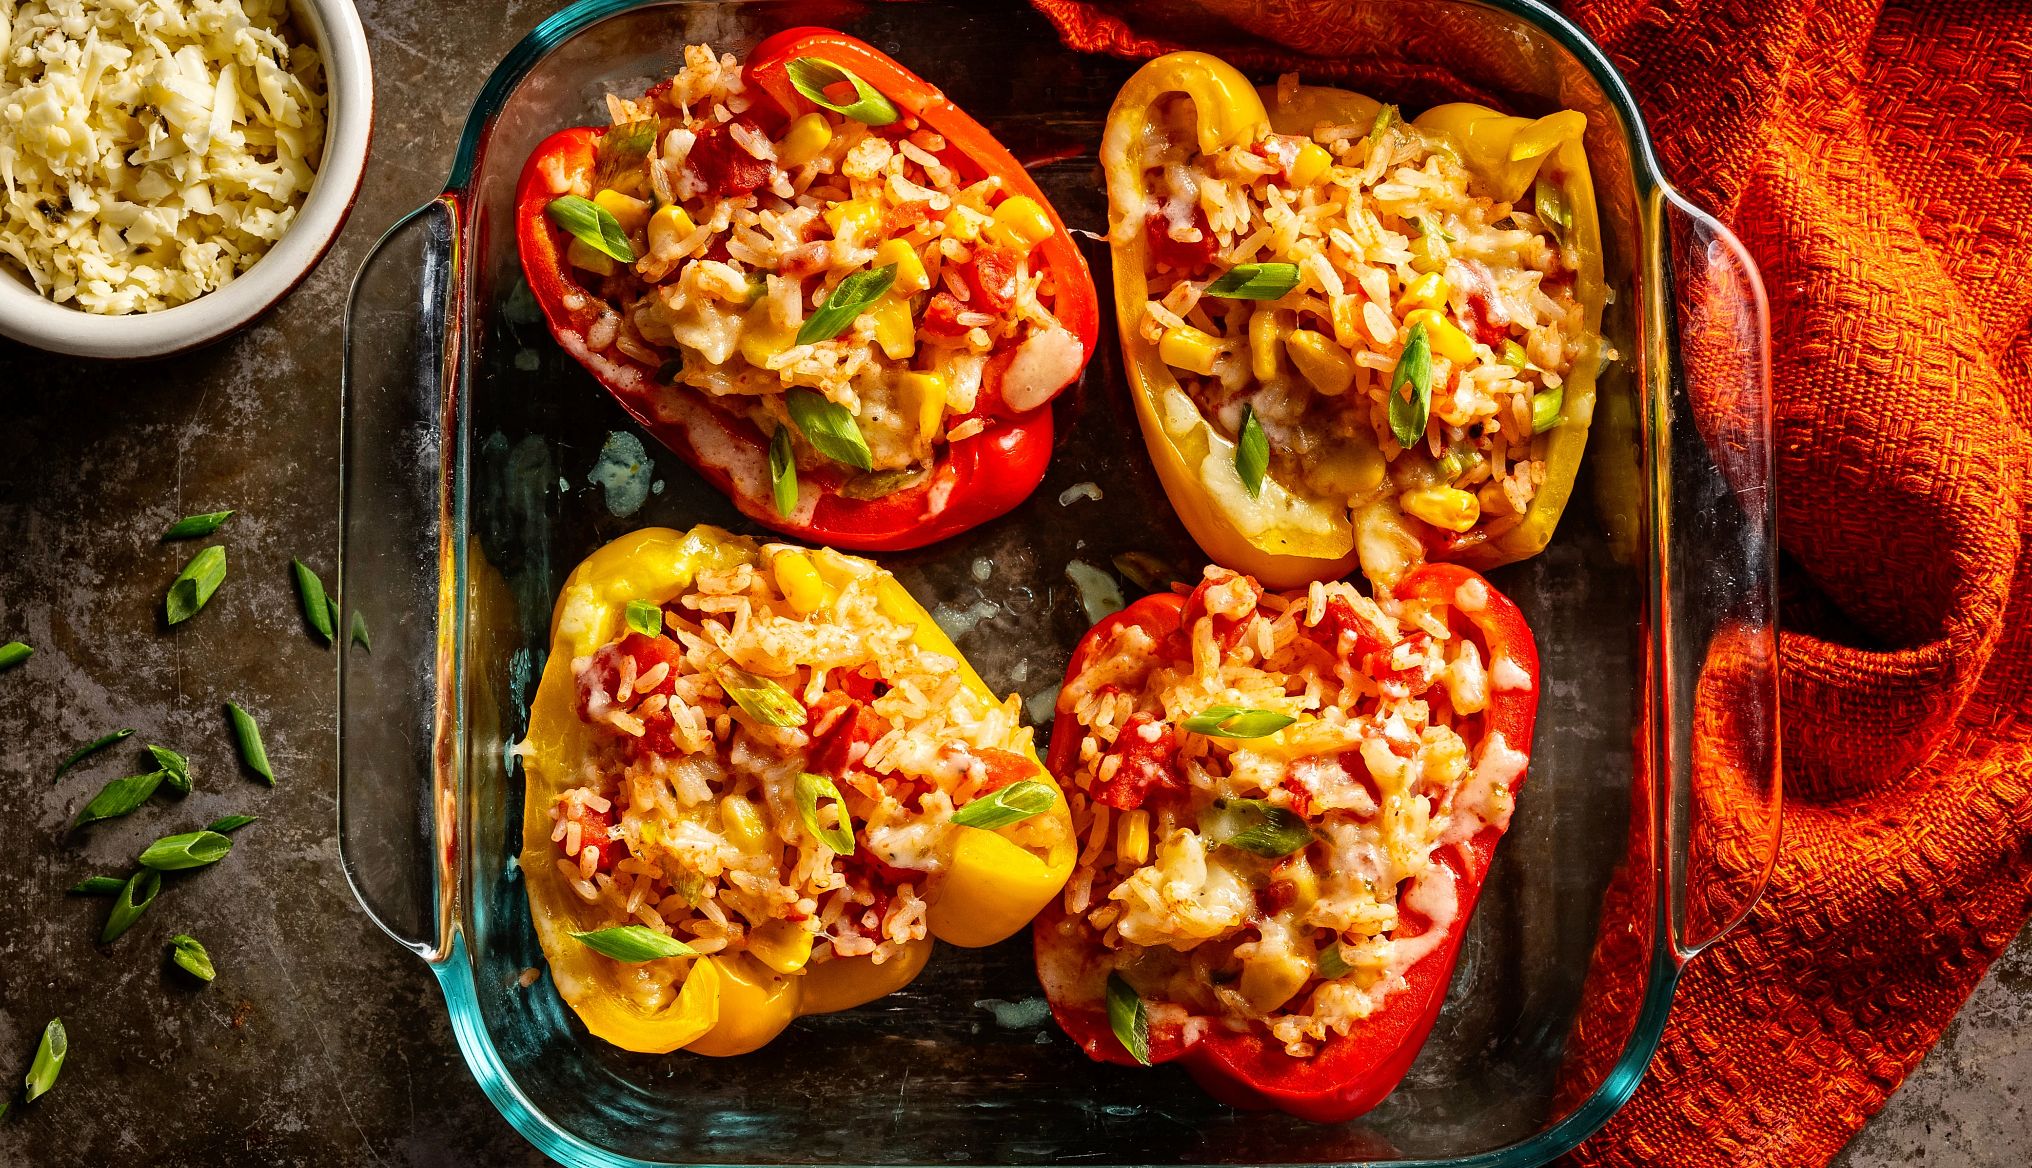
spinner image stuffed peppers in a baking dish
Photo by Scott Suchman: Food Styling by Nicola Justine Davis

STUFFED PEPPERS

  • 1 cup Instant white rice, uncooked*
  • 1 large red bell pepper
  • 1 large yellow bell pepper
  • ²/₃ cup canned petite diced tomatoes, drained
  • 2 tablespoons chopped green onion
  • ⅓ cup frozen corn, thawed
  • 1 teaspoon paprika
  • 1/2 teaspoon salt
  • ¼ teaspoon garlic powder
  • ¼ teaspoon fresh ground black pepper
  • ²/₃ cup shredded pepper jack cheese

Instructions: 

  1. Cook rice in microwave according to package directions. Set aside.
  2. Slice peppers in half lengthwise and remove the seeds. With the inside of the peppers facing up, place cut peppers in an ungreased shallow microwave-safe baking dish. Microwave uncovered on high until slightly tender, 3 to 4 minutes.
  3. While the peppers are cooking, add the tomatoes, green onion, corn, paprika, salt, garlic powder and pepper to the rice. Stir to combine.
  4. Spoon the rice mixture into the peppers, dividing evenly among the peppers.
  5. Sprinkle peppers with the cheese. Microwave, uncovered for 3-4 minutes, until heated.

Smiles all around with this mug-made treat

“You love cake, you love coffee, so why not combine the two?” Stein says. 

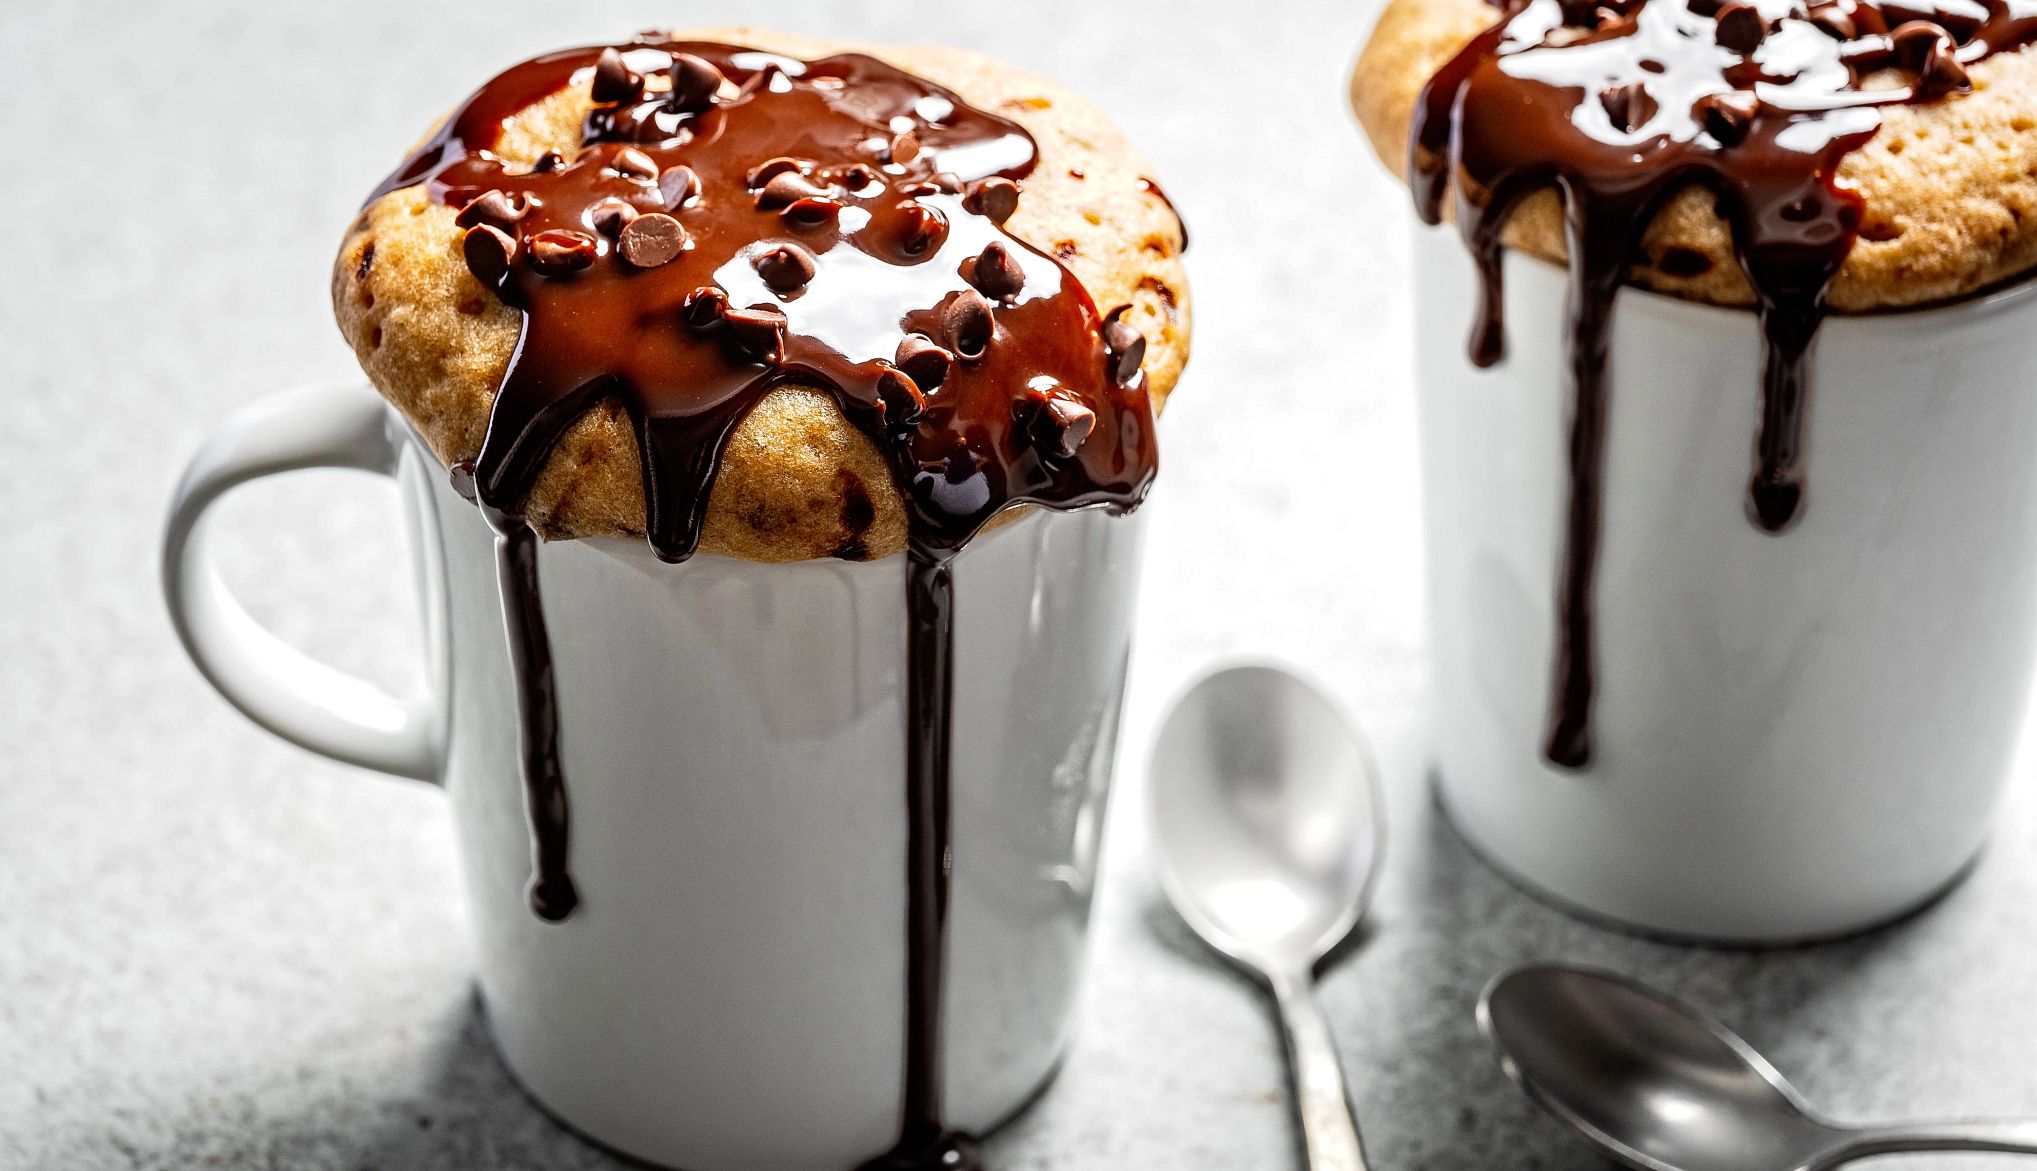
spinner image cafe au lait mug cake is a delicious snack or dessert
Photo by Scott Suchman: Food Styling by Nicola Justine Davis

Kids and grandkids will have a blast making this sweet treat with you, easy to whip up for a pretty dessert with ingredients you likely have taking up space in your kitchen anyway. 

“This cake will transport you to New Orleans; drinking a cup of coffee with milk (café au lait) in the French Quarter at a sidewalk café,” she says. 

CAFÉ AU LAIT MUG CAKE 

  • 1 cup all-purpose flour
  • 1 ounce packet of instant coffee powder
  • 2 teaspoons baking powder
  • ¼ cup raw honey
  • 6 tablespoons milk
  • ⅓ cup vegetable oil
  • 3 tablespoons mini chocolate chips, divided
  • Chocolate syrup, as desired

Instructions 

  1. In a small bowl, add the flour, coffee powder and baking powder. Stir to combine. Add the honey, milk and oil. Mix well until only a few tiny lumps remain.
  2. Fold in 2 tablespoons mini chocolate chips.
  3. Evenly divide batter into the 2 mugs. Cook uncovered in the microwave for 2 minutes on high power or until the batter is fully cooked.
  4. Let cool for 1 minute. Drizzle with chocolate syrup and sprinkle the cakes with the remaining mini chips.

Discover AARP Members Only Access

Join AARP to Continue

Already a Member?