Javascript is not enabled.

Javascript must be enabled to use this site. Please enable Javascript in your browser and try again.

Skip to content
Content starts here
CLOSE ×

Search

Leaving AARP.org Website

You are now leaving AARP.org and going to a website that is not operated by AARP. A different privacy policy and terms of service will apply.

6 Tips to Prep and Clean Your Grill Like a Pro

Prep barbecue equipment for a sizzling season of meals


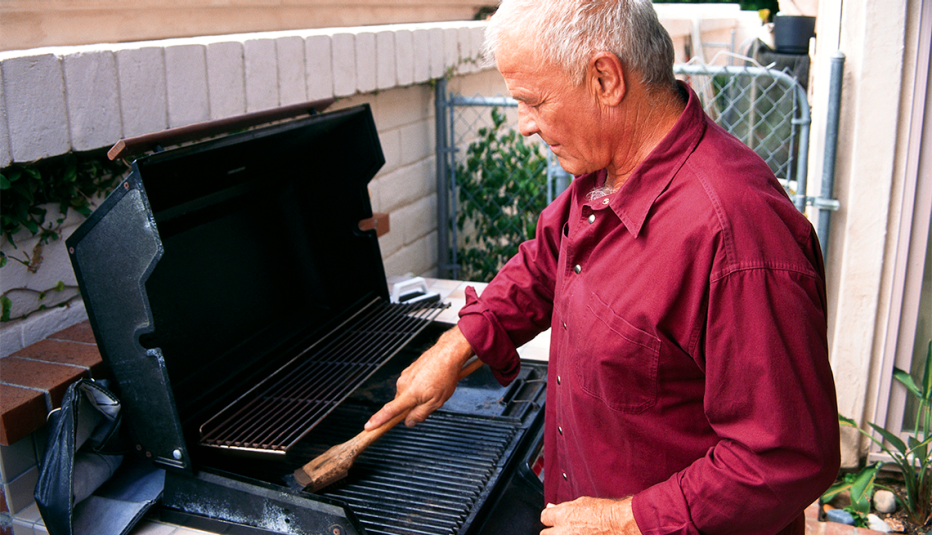
spinner image A man cleaning his grill
Getty Images

As the weather warms up and people spend more time gathering outdoors, it’s time for grilling.​

But before you throw your meat or veggies on the fire, take some time to optimize your grill for the season. Just like anything that hasn’t been used in a while, the equipment you rely on to create sizzling outdoor meals could benefit from a good tune-up. Whether you’re a gas or charcoal griller or prefer your meat on a smoker, two pitmasters share their tips on how to keep your grill in tip-top shape all season long.​

spinner image Image Alt Attribute

AARP Membership— $12 for your first year when you sign up for Automatic Renewal

Get instant access to members-only products and hundreds of discounts, a free second membership, and a subscription to AARP the Magazine.

Join Now

1. Deep clean the grates

Make sure you’re starting the season with a clean surface for grilling. Taking the time to do a proper cleaning in the beginning will go a long way, wiping away the grime that may have built up if you left your grill dormant most of the winter. A clean surface will make your food taste better. Rob Serritella, founder and pitmaster at Los Angeles’ Holy Cow BBQ, has a whole process for cleaning the grill.​​

To start, if you have a gas grill, make sure the gas is off.​

​Remove your grill grates (if you can) and place them on a surface for cleaning. If your model doesn’t have removable grates, it likely has a tray underneath to catch debris that is removable and cleanable. Most people line these trays with aluminum foil for easy cleaning.​

​Use gloves and goggles to block flying debris, and fill a tub with hot water and dish soap. After a good soak, scrape off the debris. If dish soap doesn’t do the trick, try oven cleaner.​

​Rinse with hot water and air-dry.​​

2. Get rid of gunk

“Use a putty knife, brush and skewers to get all of last year’s gunk out,” Serritella says. That includes the inside cover, sides and bottom of the grill. This will make sure that nothing burns off right onto your food.​​

Soak a few old dish towels in the hot water and dish soap solution, and wipe down all areas of the grill. Then spray the inside top of the grill with a solution of 1/3 vinegar to 2/3 water. Think of this like cleaning a dirty pan before you are ready to use it to cook.​​

Let sit for at least a half hour, then wipe down the inside and outside of the grill with warm water to remove any of the leftover char from last year, dirt that may have blown in or bugs that got trapped.​​

If you cook with a charcoal grill, make sure to remove any residual ashes, says Octavius Nelson, owner of Bobby’s BBQ in Fountain Inn, South Carolina.​​

Home & Real Estate

ADT™ Home Security

Savings on monthly home security monitoring

See more Home & Real Estate offers >

“A lot of people leave the ashes in there and cook on top of them next time, but that can rust out your grill box,” he says. “It’s best to remove the charcoals after every use, once the grill cools down.”​​

Remove your grill’s drip tray if it has one (most gas grills do) — this is what catches any dripping grease — and re-cover with foil before you place it back.​​

3. Prep your grill grates

Once you’ve done a deep clean, it’s time to prep your grill. Nelson recommends oiling the grates of the grill to counteract any rust that may have built up.​​

“If you’re an experienced griller, put some cooking oil on a towel after your grill is hot and rub the grates to wipe it down,” he says. “If you’re more of a beginner, take the grates off your grill before you light it, and rub the oil on them cold. Then put them back on, heat up your grill and use a grill brush to clean them off.”​

​Grillers can also do a pre-burn with the oil grates for about 10 minutes before cleaning, to burn off any excess, Serritella says.​​

spinner image Barbecue tools on wooden table
Getty Images

4. Cover it up

Grills are made to withstand the elements, but getting a cover and protecting your equipment between uses will prevent the need for frequent heavy-duty cleaning.​​

“If rain gets in your grill, it could get moldy,” says Nelson. “A cover will also help keep critters and bugs out, especially bees.”​​

spinner image membership-card-w-shadow-192x134

LEARN MORE ABOUT AARP MEMBERSHIP.

Get instant access to members-only products and hundreds of discounts, a free second membership, and a subscription to AARP the Magazine.

Make sure to wait until your grill cools down to cover it each night.​

5. Check your supplies

​Now that your grill is in tip-top shape, make sure the rest of your supplies are as well. For chip or pellet grills, Serritella suggests removing any unused fuel from last season in your barbecue or smoker and replacing it with a fresh, dry batch to prevent moisture or bugs from tainting your cooking efforts. The same goes for charcoal or presoaked charcoal — start with a fresh bag.​​

If you’re using a gas grill, check that your tank is full — you don’t want to run out of gas midway through flipping burgers or chicken.​​

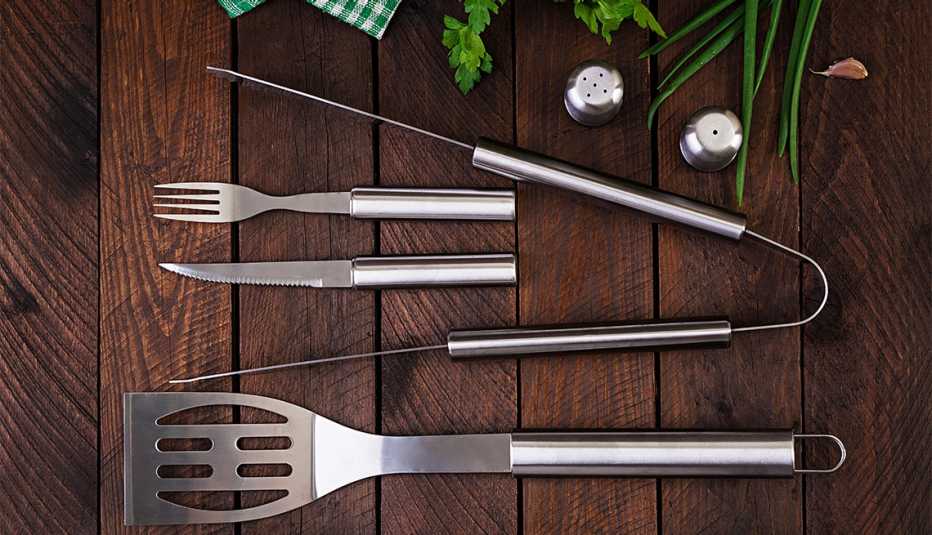
Take quick inventory of the rest of your tools — brushes, tongs and spatulas. If you see they are missing bristles or broken, it’s time to replace them. If there is a bit of rust buildup, Nelson suggests using a little cooking oil and a scrub pad or steel wool to remove it. Then wash with dish soap and water and air-dry thoroughly.​​

“I have an outdoor plastic waterproof bin I designate for my grilling tools and supplies that I don’t have room to store inside,” he says.

​Also, if you’re using a gas or propane grill or one that uses an electric starter, make sure all your wiring and tubing is safely connected.

6. Invest in a meat thermometer​​

When it’s finally time to cook, the most essential tool to have is a meat thermometer. There are plenty of inexpensive options to choose from, including instant-read digital thermometers and Wi-Fi-enabled probe thermometers you leave in your meat. These probes have an external readout that displays the meat’s temperature as it cooks, so no need to continue opening the lid to check.​ “Poking your meat over and over while it’s on the grill will dry it out,” says Nelson. “A digital thermometer will read your temperature much faster, so you’re not leaving your grill open and letting the heat out.”​​

It’s easy to find the right temperatures for each kind of meat online if your thermometer doesn’t come with a guide. The result will be perfectly cooked meat for grilling season.​

Breaking In a New Grill?

​Getting a new grill is exciting, but before you throw on the burgers and dogs, make sure you do a bit of prep. ​

  • Give your grill a bath. Clean the interior with gentle soap and water, says pitmaster Anthony Nicolosi of BBQ & Craft Company in Miami Beach, Florida. Use a towel to “ensure it’s completely dry,” before moving on, he says.​
  • Make sure it’s level. A wobbly grill can be dangerous while cooking, says Rob Serritella, founder and pitmaster at Los Angeles’ Holy Cow BBQ. A grill mat can keep things level and maintain a tidy area.​
  • Get rid of that new grill smell. Serritella suggests cranking up the heat to high for 15 minutes to get rid of the metallic or chemical smell in the grill cavity that can come from new packaging or paint.​
  • For smokers. If you’re using a smoker, fill the smoker tray with wood chips and water, and cook on medium heat for about 30 minutes. “This gives your new barbecue a smoky primer before first use,” Serritella says.​

Discover AARP Members Only Access

Join AARP to Continue

Already a Member?