Javascript is not enabled.

Javascript must be enabled to use this site. Please enable Javascript in your browser and try again.

Skip to content
Content starts here
CLOSE ×

Search

Leaving AARP.org Website

You are now leaving AARP.org and going to a website that is not operated by AARP. A different privacy policy and terms of service will apply.

5 Ways to Digitize Your Old Home Movies

Converting tapes, film is the best way to preserve memories for your family

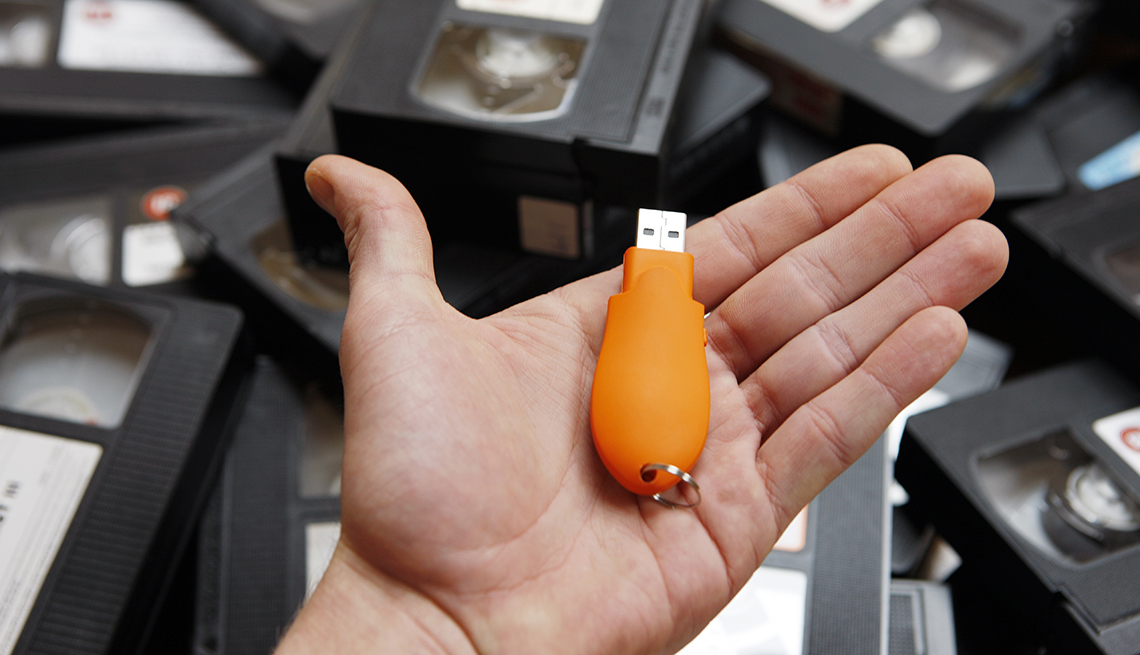
spinner image a memory stick in a man's hand over a pile of vhs tapes
GETTY IMAGES

Memories can last forever but not the medium they’re stored on.

Videotapes can hold your precious home movies for several years if they’re kept in a cool and dry environment. But eventually these formats deteriorate, making the tapes unwatchable.

Adding to the problem: You may not be able to play back these captured moments if you don’t have a working machine. So now is the time to digitize your dusty collection of tapes.

spinner image Image Alt Attribute

AARP Membership— $12 for your first year when you sign up for Automatic Renewal

Get instant access to members-only products and hundreds of discounts, a free second membership, and a subscription to AARP the Magazine.

Join Now

The good news is that preserving these memories is not as daunting as you think. You can do the conversion yourself or you can use a service to digitize the various formats you have stored: 8mm or 16mm film reels; super 8 and H8 movie film; MiniDV cassettes; and Betacam, Betamax and VHS tapes.

Most important: If you’re dealing with very old or fragile film, allow a professional to digitize it. Even if you still have the machine to play it on as part of the conversion process, you risk damaging these memories.

Why should I bother digitizing old formats?

The best reason to digitize these aging analog tapes and reels is to prevent them from being trapped in an obsolete format.

• Preservation. Once your home movies are digitized, they will no longer degrade over time.

• Restoration. Faded or damaged home movies can be repaired automatically with software. Color can be renewed, and parts of a video can be stitched together.

• Ease of duplication. The digitized versions can be copied with the click of a button to make extra backups or to share with family members.

• Instant cataloging. Using keywords and tagging, you’ll be able to organize and search the new files on a computer, online cloud site, smartphone or tablet.

• Social media sharing. You can upload the digitized memories to a social media site such as Facebook or use them to create a new movie to watch with family and friends — complete with animated transition sequences, music and narration.

• Family history. Preserving your family events isn’t just for your enjoyment but for the enjoyment of future generations. Once your movies are on a computer, cloud site or disc, they can be seen long after you’re gone. The COVID-19 pandemic, which killed more than a million Americans, was a wake-up call for many families to digitize old media.

How to digitize your home movies

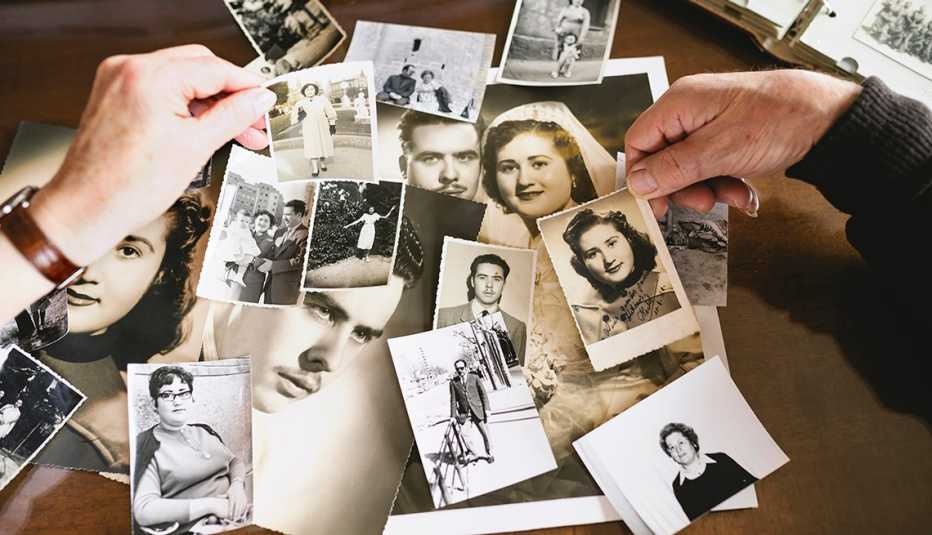
The first step is to find all your shoeboxes of tapes. Don’t worry if they’re not labeled with dates, events or people involved. Once they’re converted, you can preview the files to properly name them.
The important thing is to do this sooner rather than later. Then you can organize them effectively. And you have options.

1. Connect to a computer

If you still have a working VCR or camcorder, you can connect it to your computer using a “middleman” gadget. They’re often called a video capture card or analog video-capture device, and you plug them into the back of your playback machine.

Technology & Wireless

Consumer Cellular

5% off monthly fees and 30% off accessories

See more Technology & Wireless offers >

RCA cables — yes, the company you grew up with invented these connectors — are included: yellow for video, and red and white for left and right audio. The other end of this gadget has a USB connector you plug into your PC or Mac. Some also have an HDMI cable that plugs into modern TVs.

These products can cost as little as $16, though more premium offerings with extra conversion features may be closer to $70. If these products don’t come with software to record the video on your computer, you’ll need to download an application on your own.

Before you pay, try a free version to see if it does the trick, such as Open Broadcaster Software (OBS), Studio, VirtualDub or VideoLAN Client (VLC), Alternatively, Microsoft Video Editor is part of Windows 10 and Windows 11, and iMovie is already on your Macintosh computer or available as a free download.

2. Record directly onto memory cards

If you don’t own a computer or prefer to bypass the computer directly, there are gizmos that plug into the back of your H8, MiniDV camcorder, VCR or Betamax machine. That way you can record directly onto a flash storage device, such as an SD memory card or a USB stick.

Products such the Hi8 VHS VCR to Digital Converter 3.0 ($116.99) or the ClearClick Video to Digital Converter 2.0 ($159.95) include a small display so you can view what you’re digitizing. You’ll need to pick up SD memory cards or USB drives on your own, but they’re relatively affordable.

Once your home movies are stored on flash drives, you can insert them into a computer to view and copy them onto an external hard drive. Many TVs have a USB port, so you may be able to watch them on a big screen.

3. Use a DVD recorder

While not as popular as a few years ago, “ripping” your old tapes onto recordable DVDs is still a viable option. As long as you have a DVD or Blu-ray player, a computer with a DVD drive, or a video game console such as one in the PlayStation or Xbox family, you can watch DVDs packed with your memories.

Along with a DVD recorder or a DVD recorder drive on your computer, you’ll need to pick up some blank DVDs. Because DVD recorders can be tougher to find these days, you might consider buying a used one on Craigslist, eBay, Facebook Marketplace or Nextdoor. Remember to review the seller’s rating or reputation before you buy.

spinner image membership-card-w-shadow-192x134

Join AARP today for $16 per year. Get instant access to members-only products and hundreds of discounts, a free second membership, and a subscription to AARP The Magazine.

The process will involve connecting your old machine, such as a VCR or camcorder, to the input of the DVD recorder.

4. Record from screen

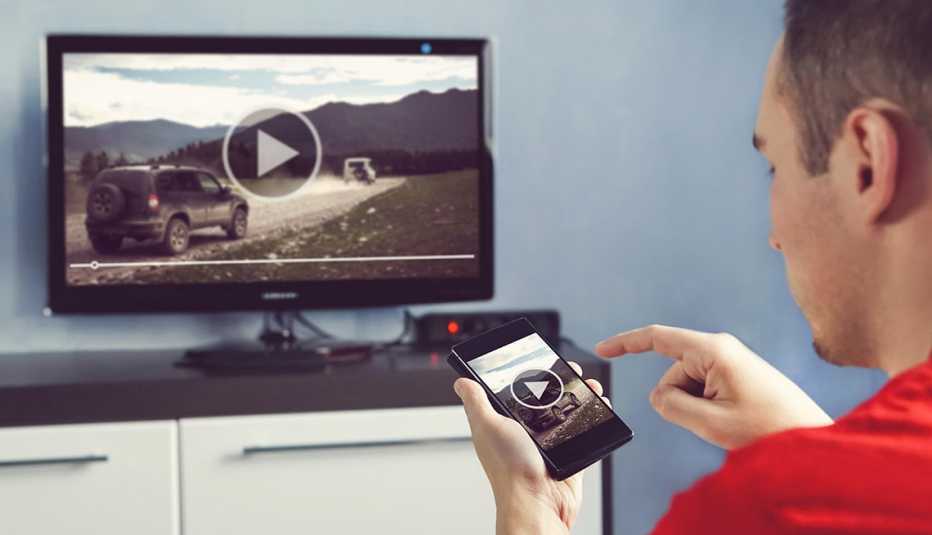
Another way to digitize an old home movie is to play it back on a projector or television and record it on your phone, though the quality won’t be as good as with the previous methods.

But making a recording of a recording is better than keeping your old movies trapped in an outdated medium. And it might be ideal for those who don’t have the time, money or know-how to record to a computer, DVD or portable storage.

If this is how you want to rerecord your footage, dim the lights and turn up the audio (if your original has any). Instead of holding your phone while recording, stabilize it on a coffee table or a stack of books. Or you can buy or borrow a tripod that holds your phone steady.

Once the video is on your phone, you can upload it to a cloud site, copy it to a computer and view it whenever you like.

5. Hire a service

Most major cities have services — individuals, photo and video stores, or specific departments at larger stores such as Costco or Walmart — that will do everything for you. Some video services cater to the entire country, such as FotoBridge, iMemories, Legacybox and ScanMyPhotos, and these places can also digitize your photographs, negatives and slides.

Before you choose a local or national service, compare prices, read reviews and discuss turnaround time. Hiring a service is perfect if:

• You are too busy or can’t be bothered to do it yourself.

• The film or tape is too fragile.

• You don’t have the original machine to play the footage.

• You think you’ll do this conversion only once and don’t want to buy a new gadget.

Discover AARP Members Only Access

Join AARP to Continue

Already a Member?